Shadows and Silhouettes (GFCC Class, 27 Sep 18)
Shadows!
The real difference between the two is which way your camera is pointed. Â

Let me explain. According to Wikipedia:
“A shadow is a dark area where light from a light source is blocked by an opaque object. It occupies all of the three-dimensional volume behind an object with light in front of it.Â
The cross section of a shadow is a two-dimensional silhouette, or a reverse projection of the object blocking the light.â€
Again, from Wikipedia, a silhouette is:
“A silhouette is the image represented as a solid shape of a single color, usually black, with its edges matching the outline of the subject. The interior of a silhouette is featureless, and the whole is typically presented on a light background, usually white, or none at all.â€
We are flexible with this in photography.
“Many photographers use the technique of photographing [subjects] against the light, to achieve an image in silhouette. The background light might be natural, such as a cloudy or open sky, mist or fog, sunset or an open doorway (a technique known as contre-jour), or it might be contrived in a studio; see low-key lighting. Silhouetting requires that the exposure be adjusted so that there is no detail (underexposure) within the desired silhouette element, and overexposure for the background to render it bright…â€
Note: You don’t always have to underexpose the desired silhouette element AND overexpose the background.
Now, for our purposes are are still going to call the image on the ground the “shadowâ€, while recognizing that it is the whole volume that is the shadow. When you point the camera in the direction of the object that is blocked (even if the object is not visible), then it is a shadow.
When you point the camera at the object that is blocking the light, that is a silhouette.
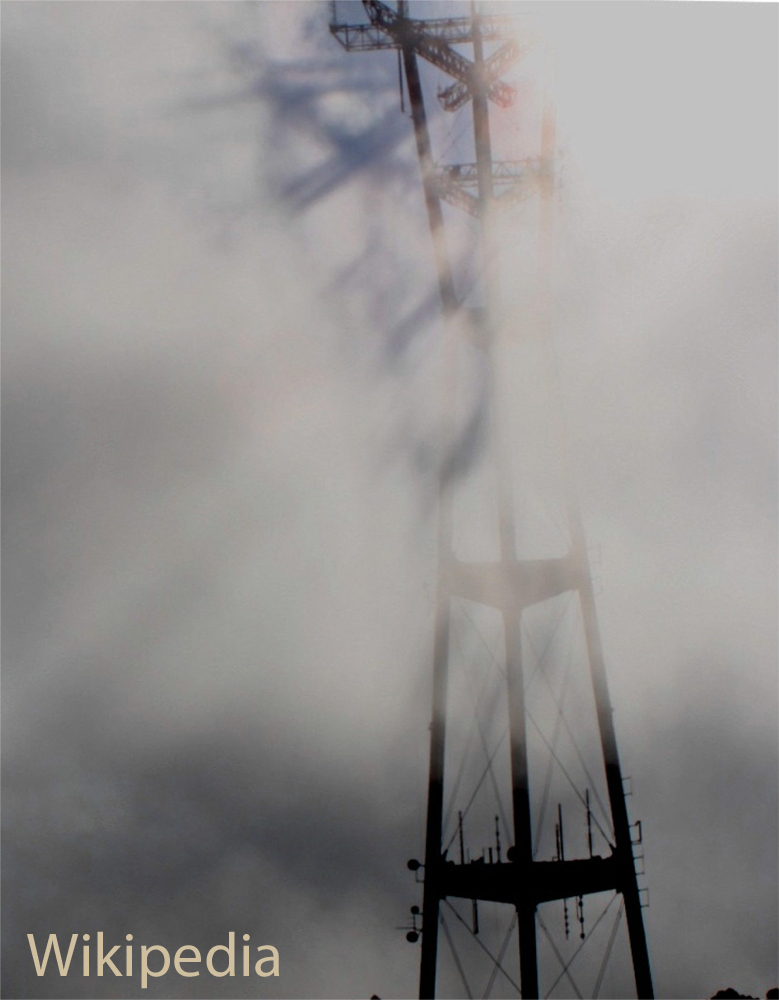
With the shadow being the whole volume, then a three dimensional surface, such as cloud or fog, results in very interesting photos!
Or more simply, shooting where the light is blocked is shadow, shooting what the light is blocked by is silhouette. Don’t get too tied up in the definitions. There is a lot of room around the edges here, and what we really want are good photos, not definitions!
How to take Shadow Photos
There really isn’t too much difference from regular photograph. Try to underexpose a little if the shadow isn’t dark enough. You can select the shadow during post processing and darken it separately from the rest of the image if it isn’t dark enough.Â
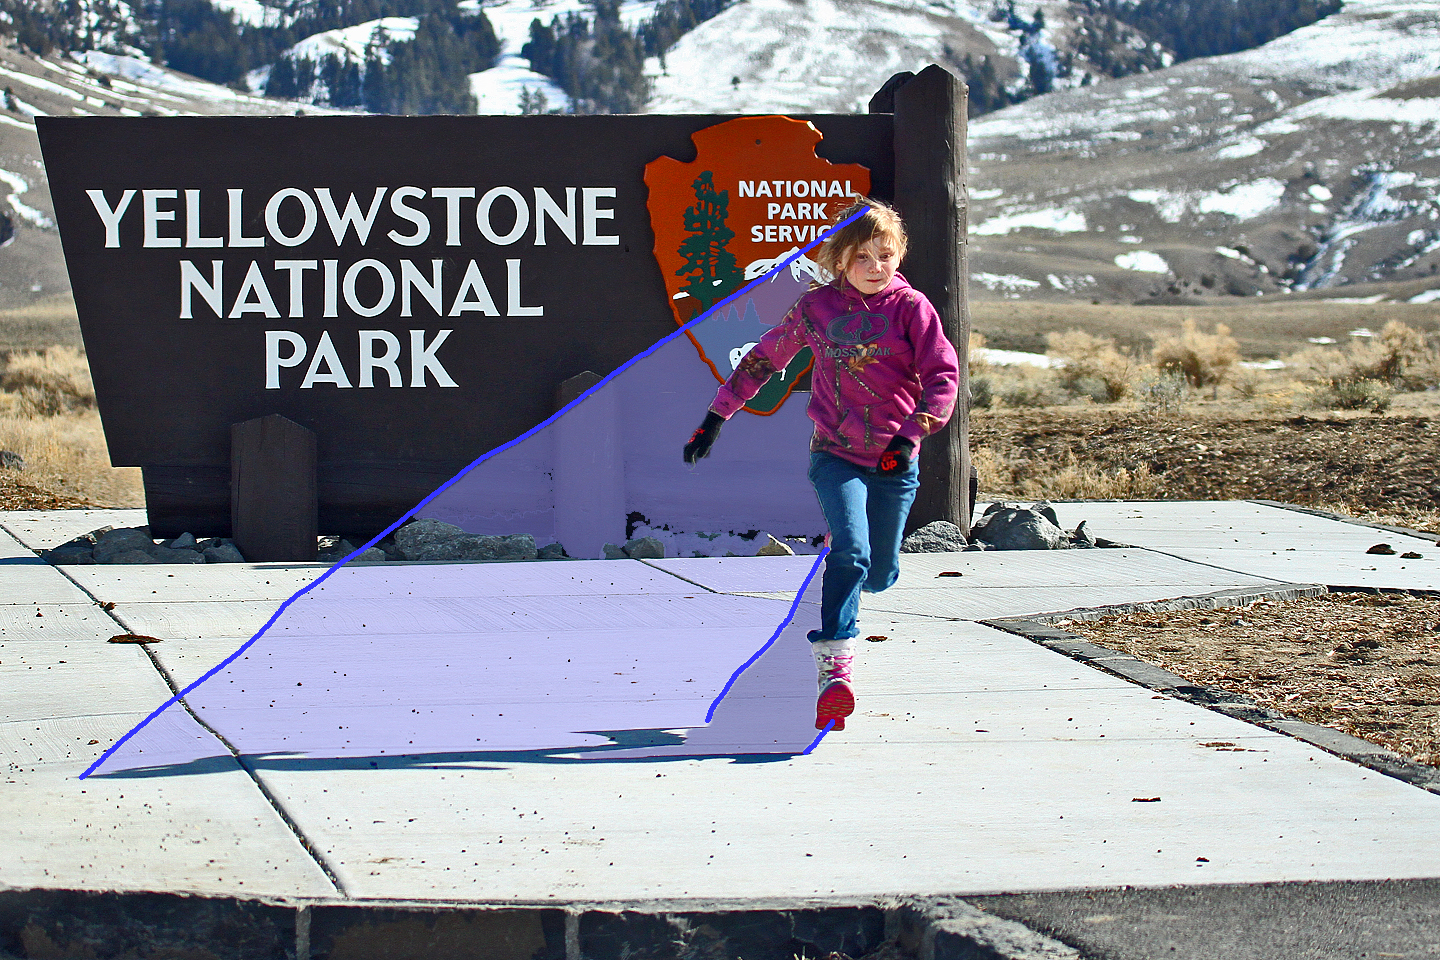
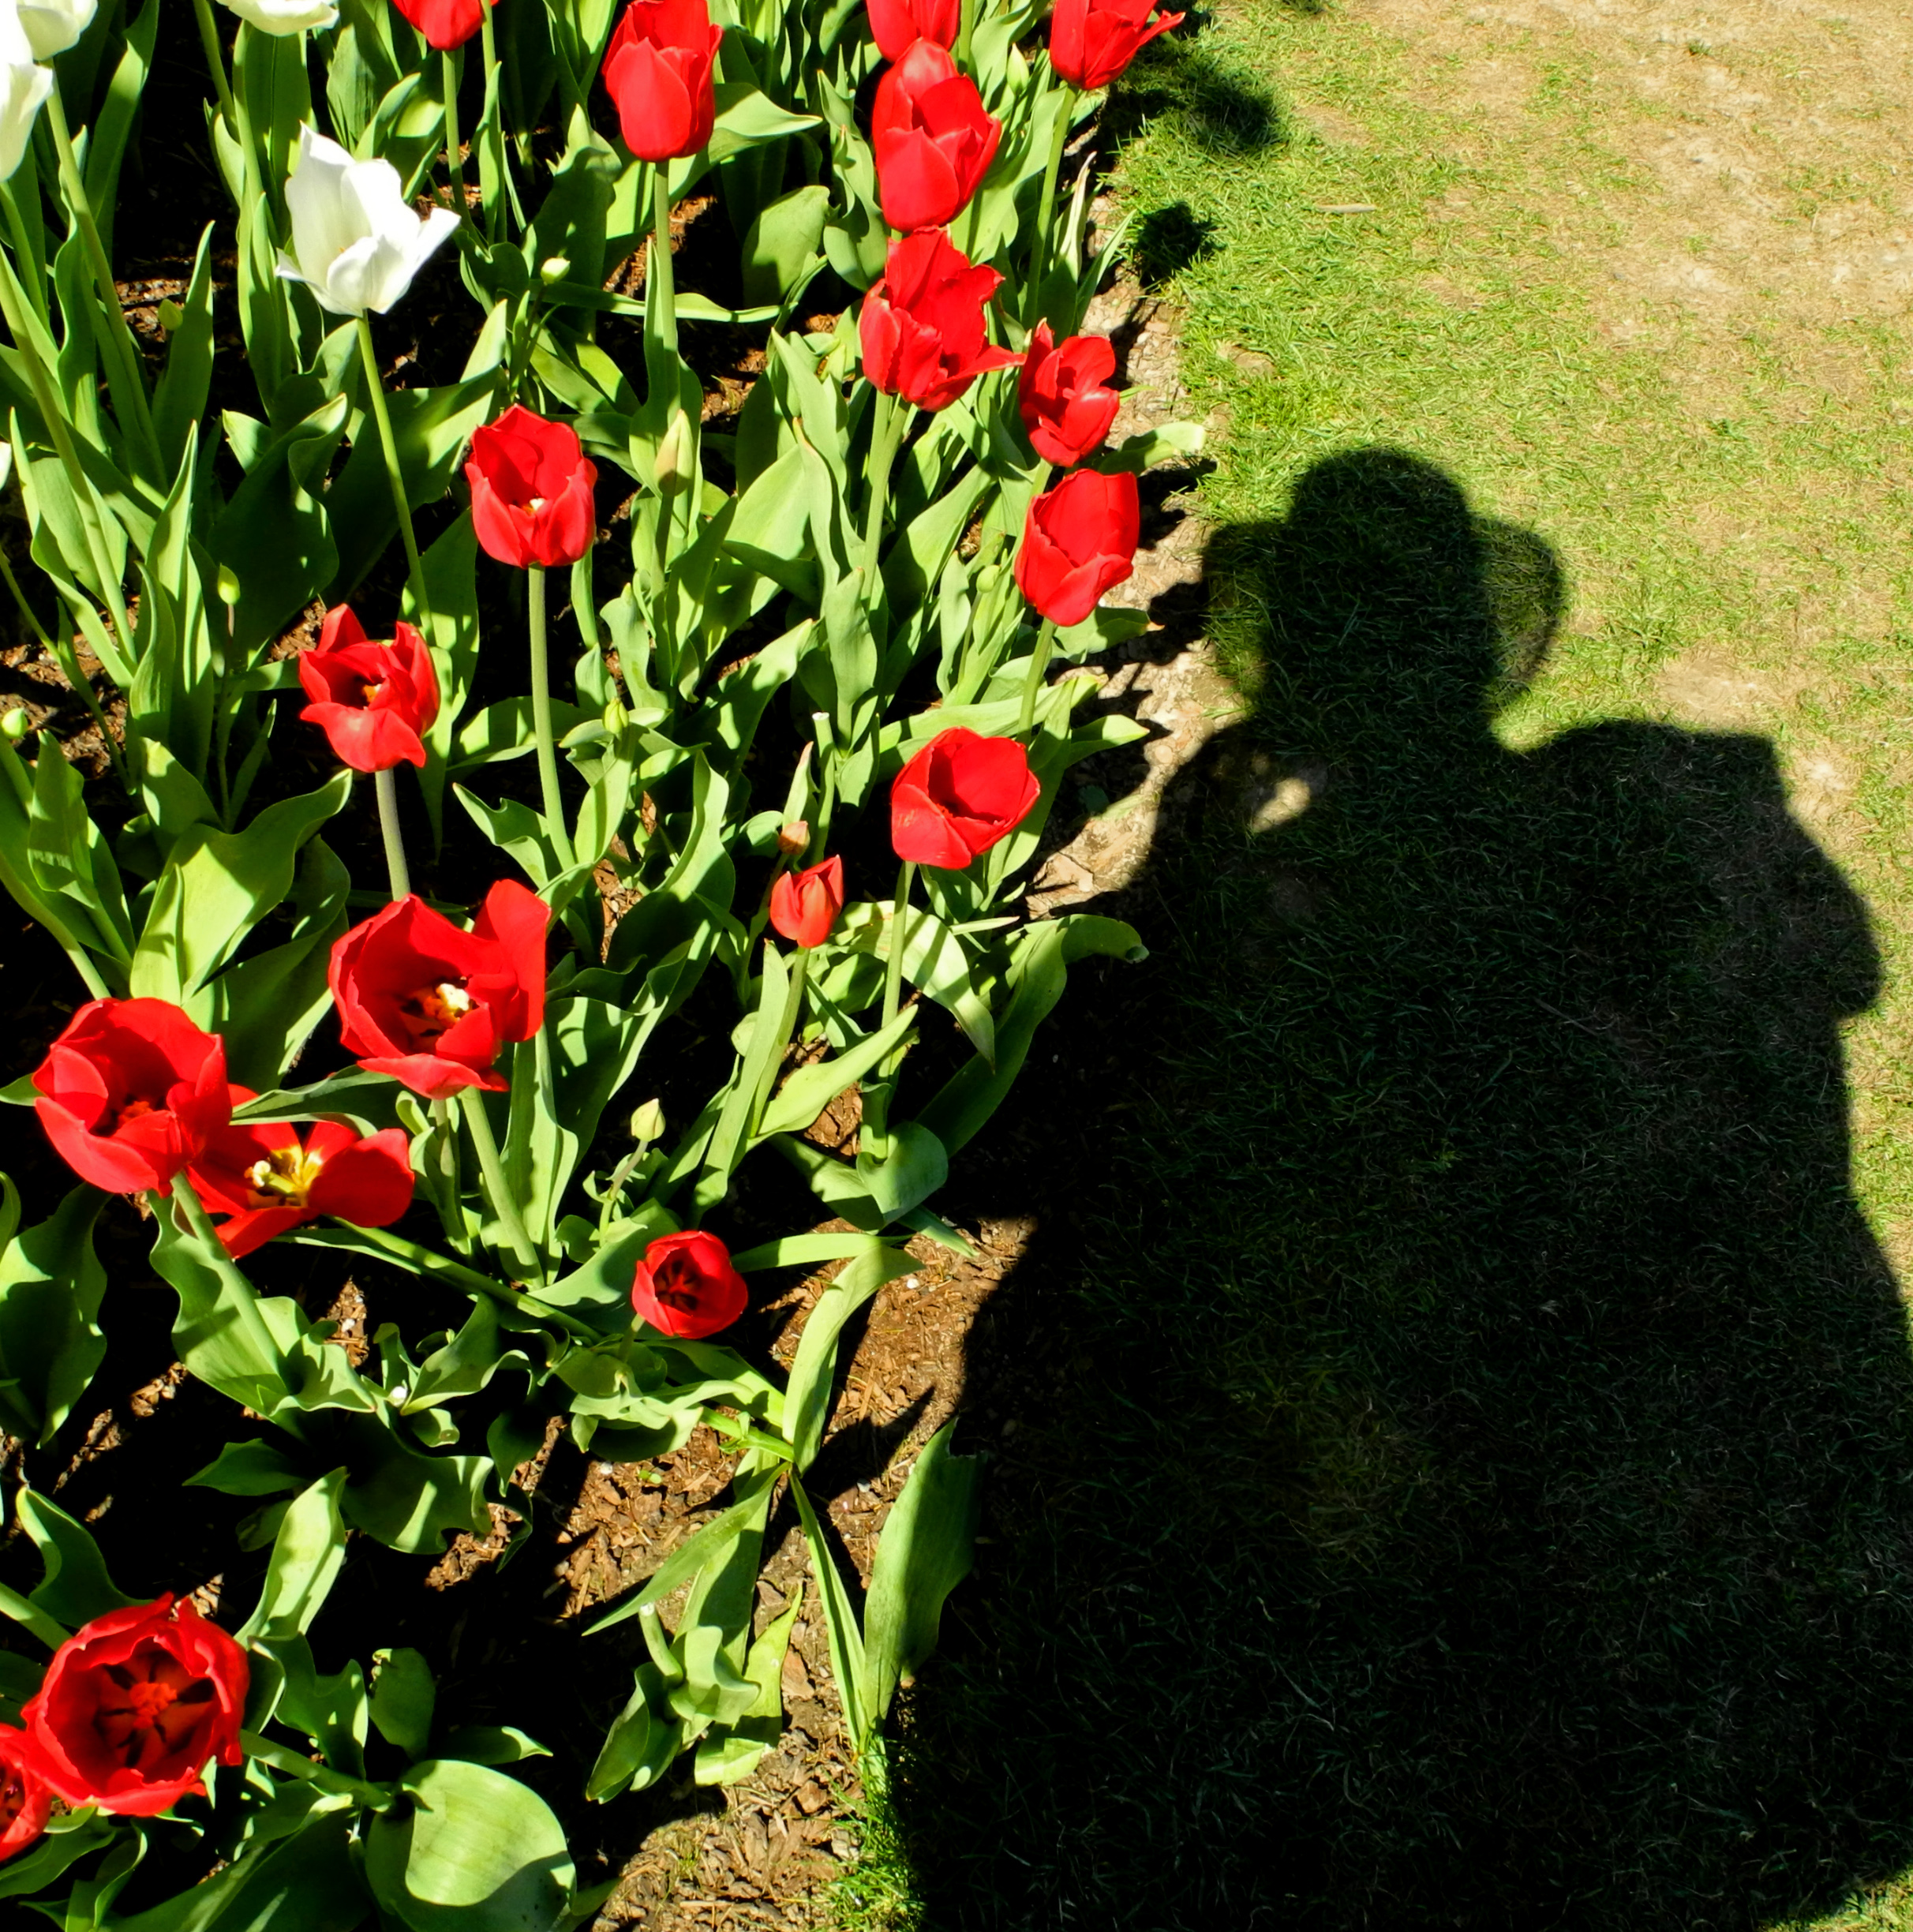
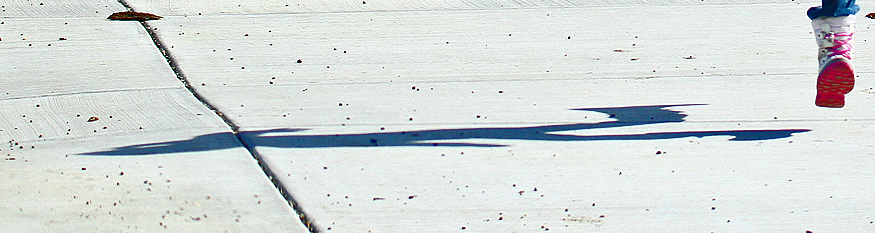
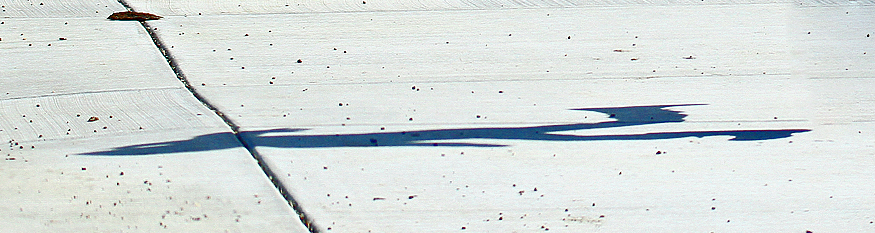
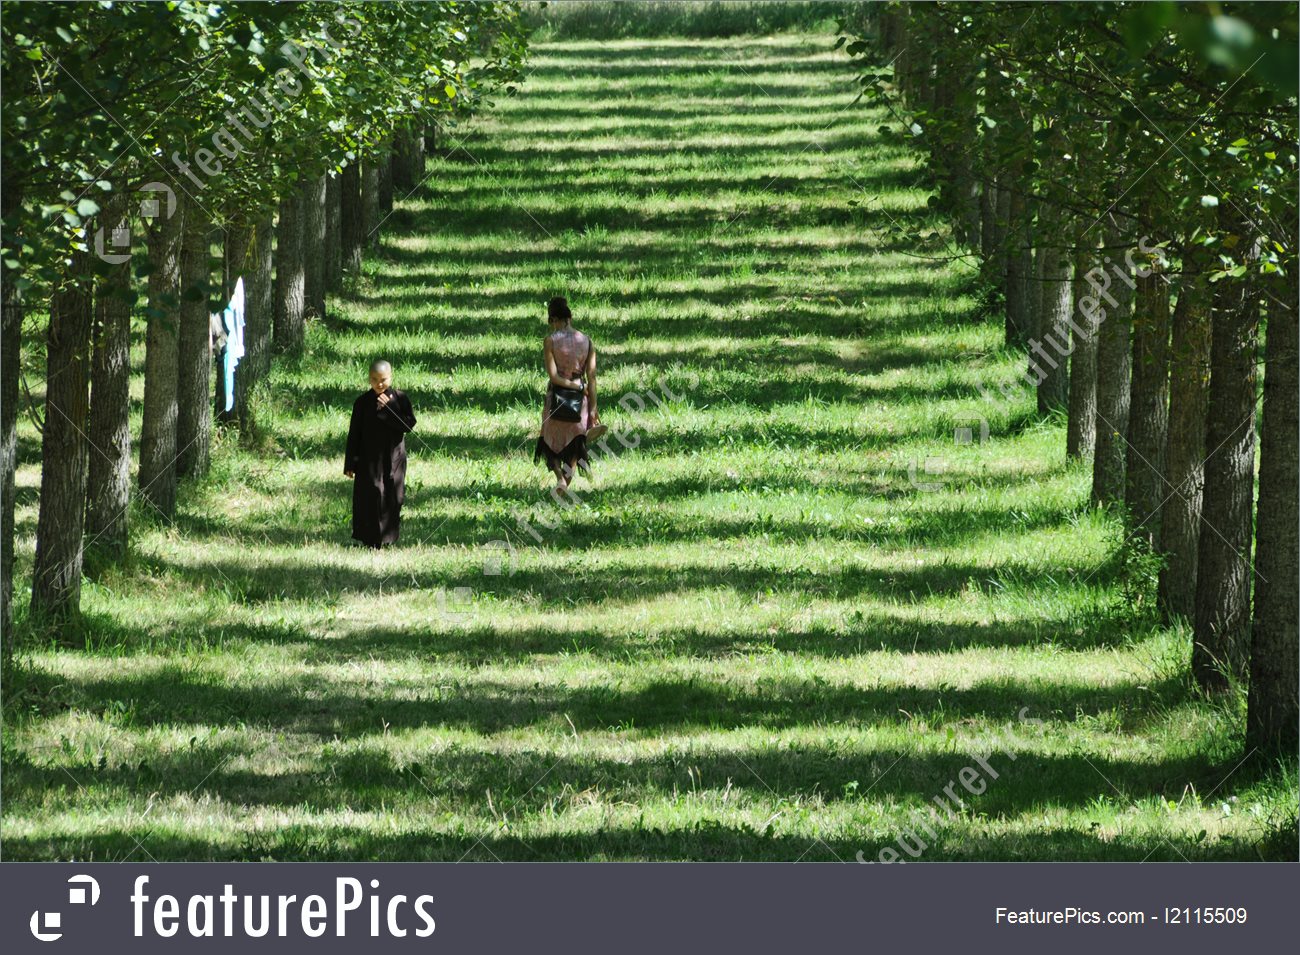
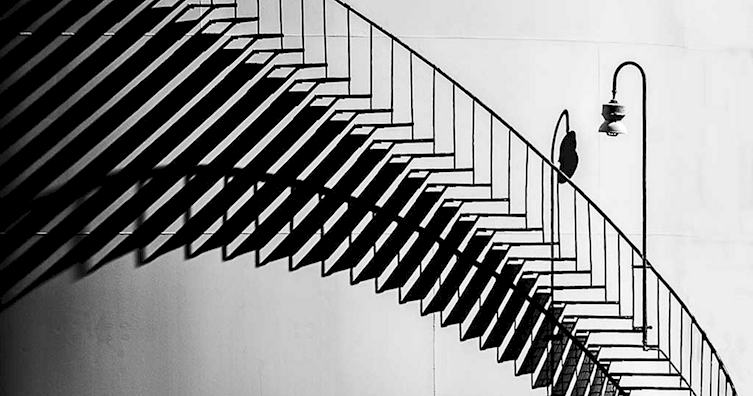
Usually you want a sharp edge to the shadow if you are defining a subject by it. Part of how a shadow looks is because of what it is project onto. Here is a smooth surface.
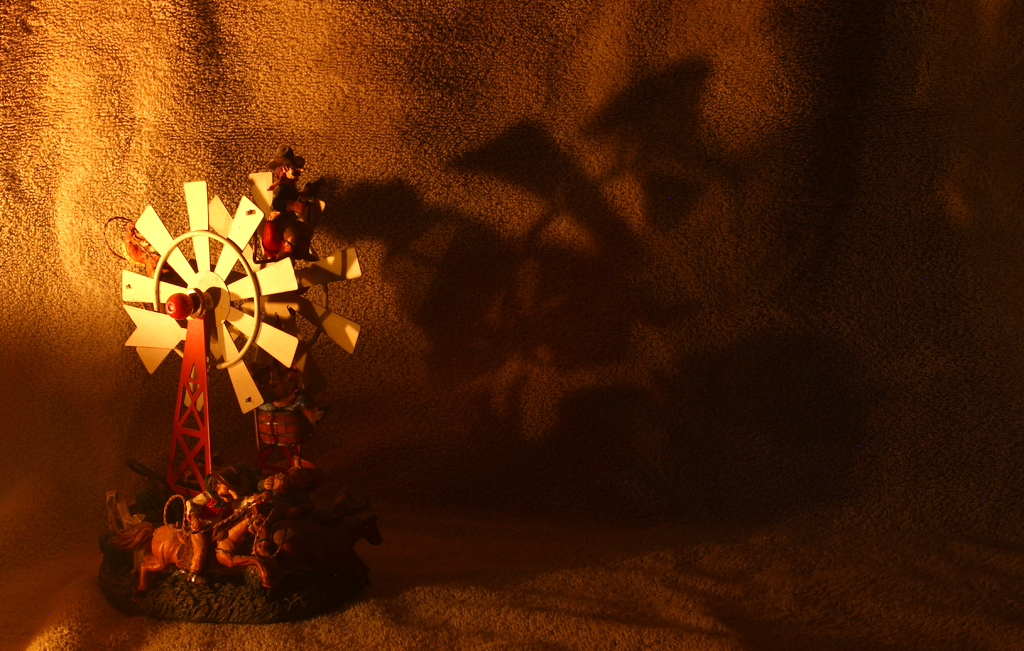
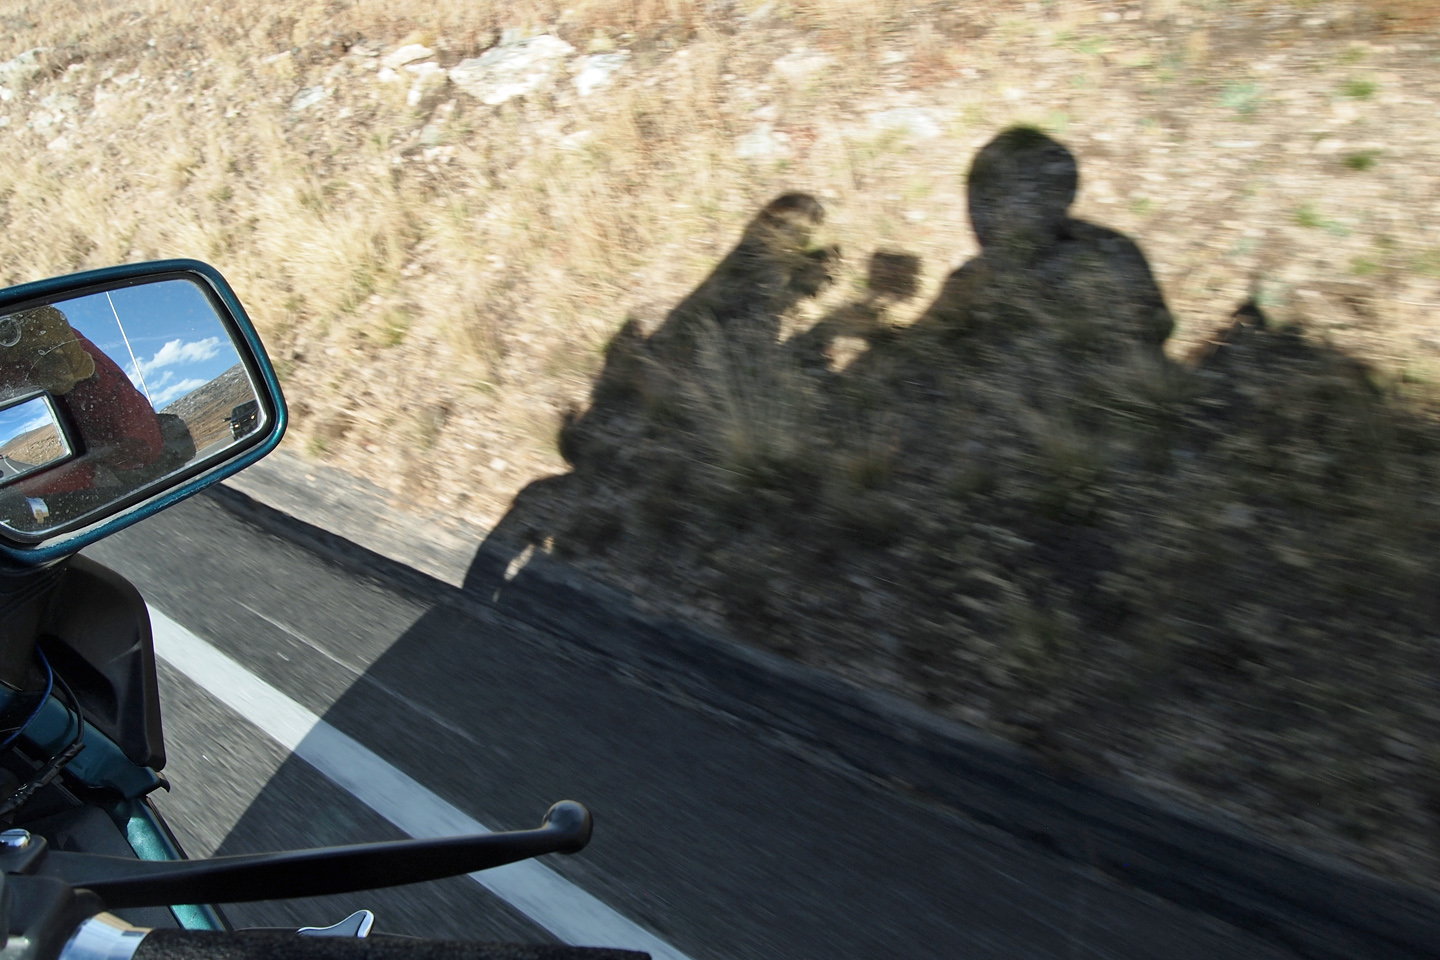
It is a much less distinct edge to the shadow if the surface is rough or not flat. Towels, fabric, vegetation, sand, any kind of texture will affect the way the shadow looks.Â
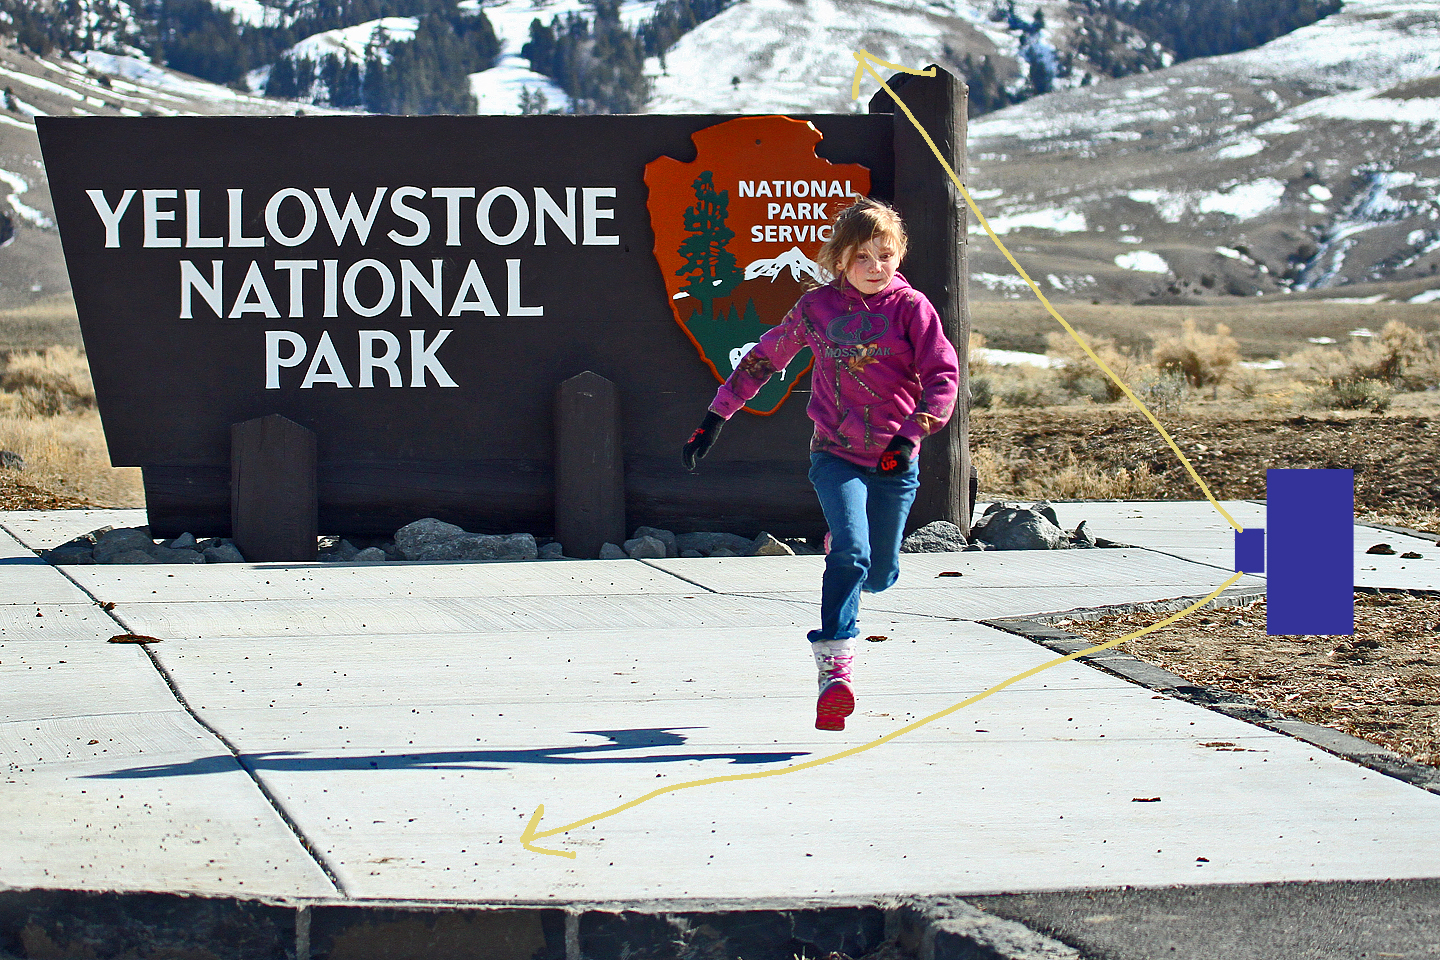
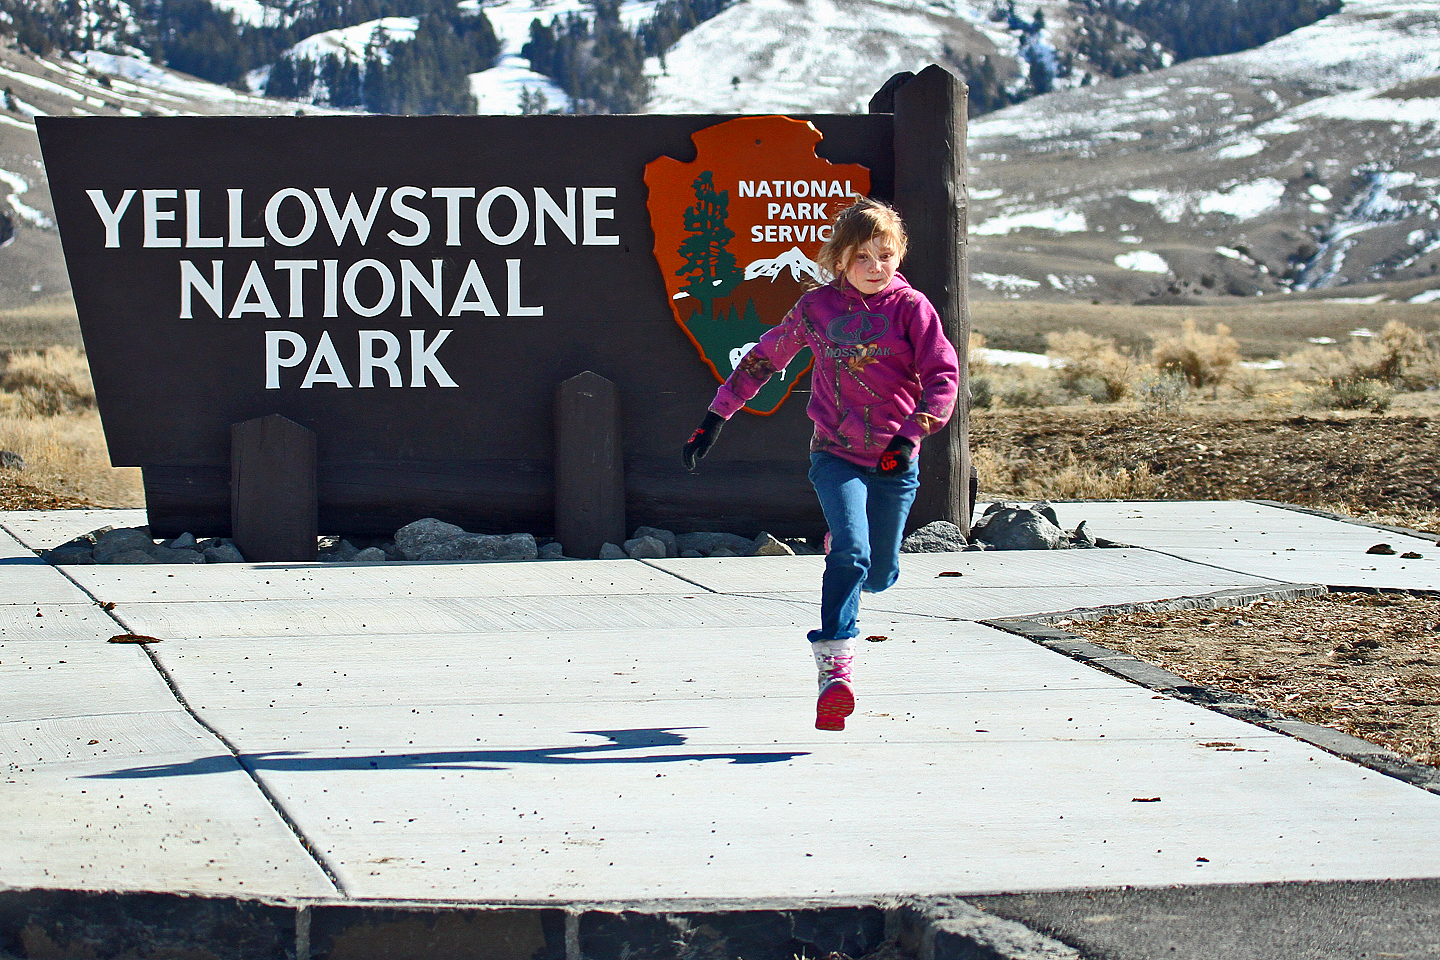
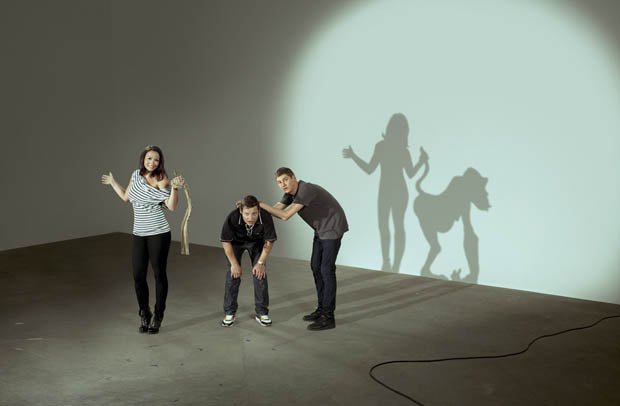
You can use shadows to tell a story.
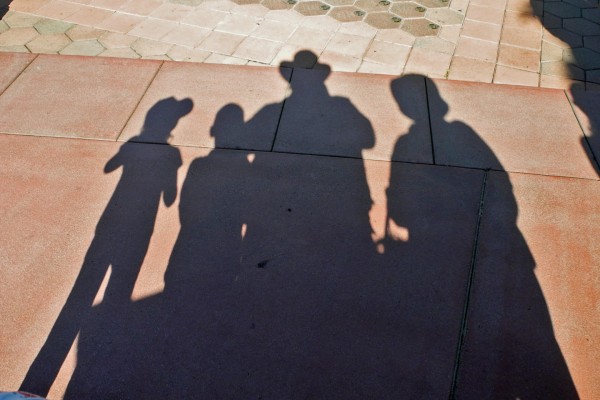
You can tell these people are excited about something. This was on a boat out whale watching in Hawaii.
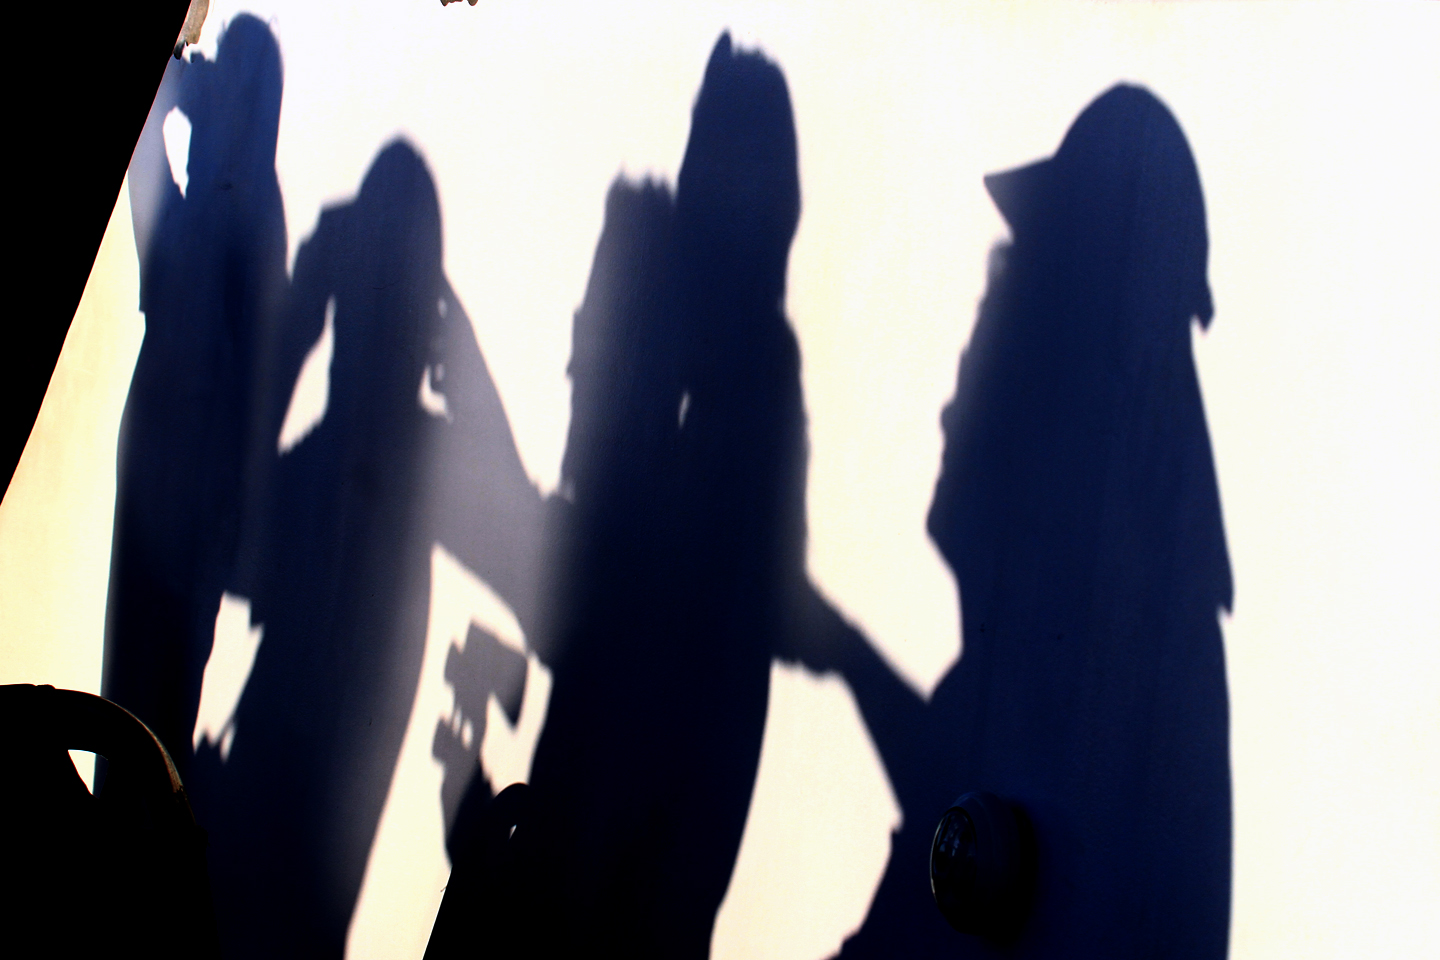
I am not sure what the story being told here is other than “I’ve got a new lens!â€
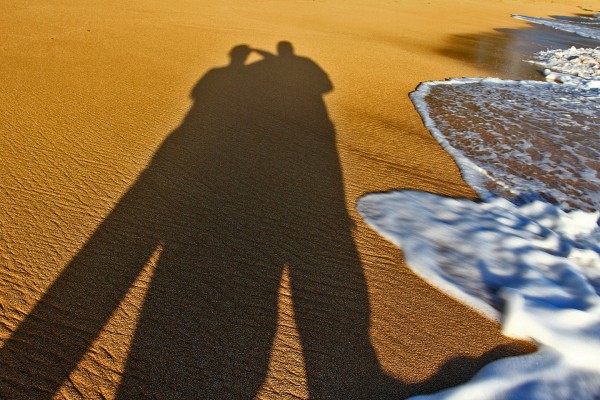
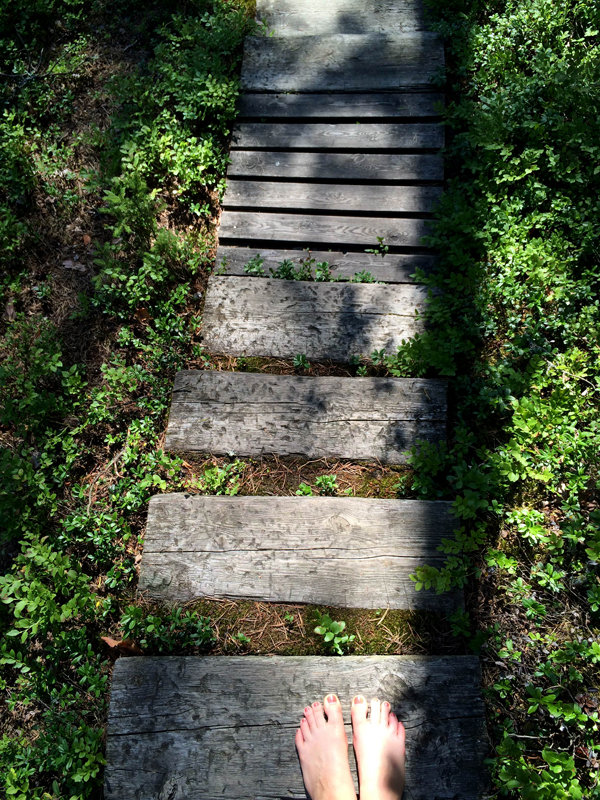
You can see here in the sand in the shadow gives it a little different look.
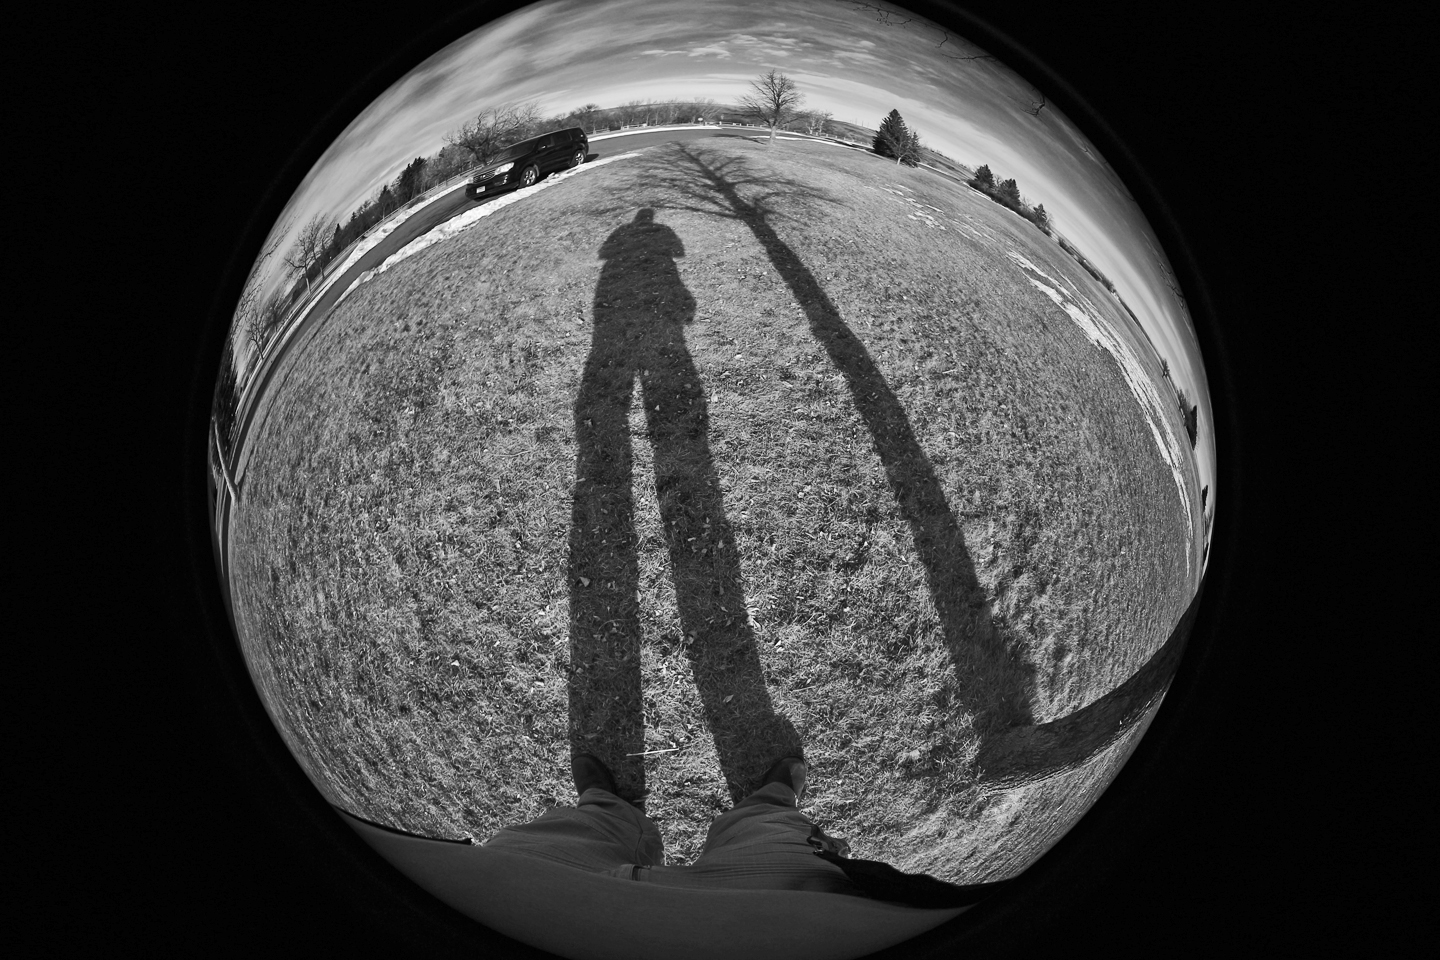
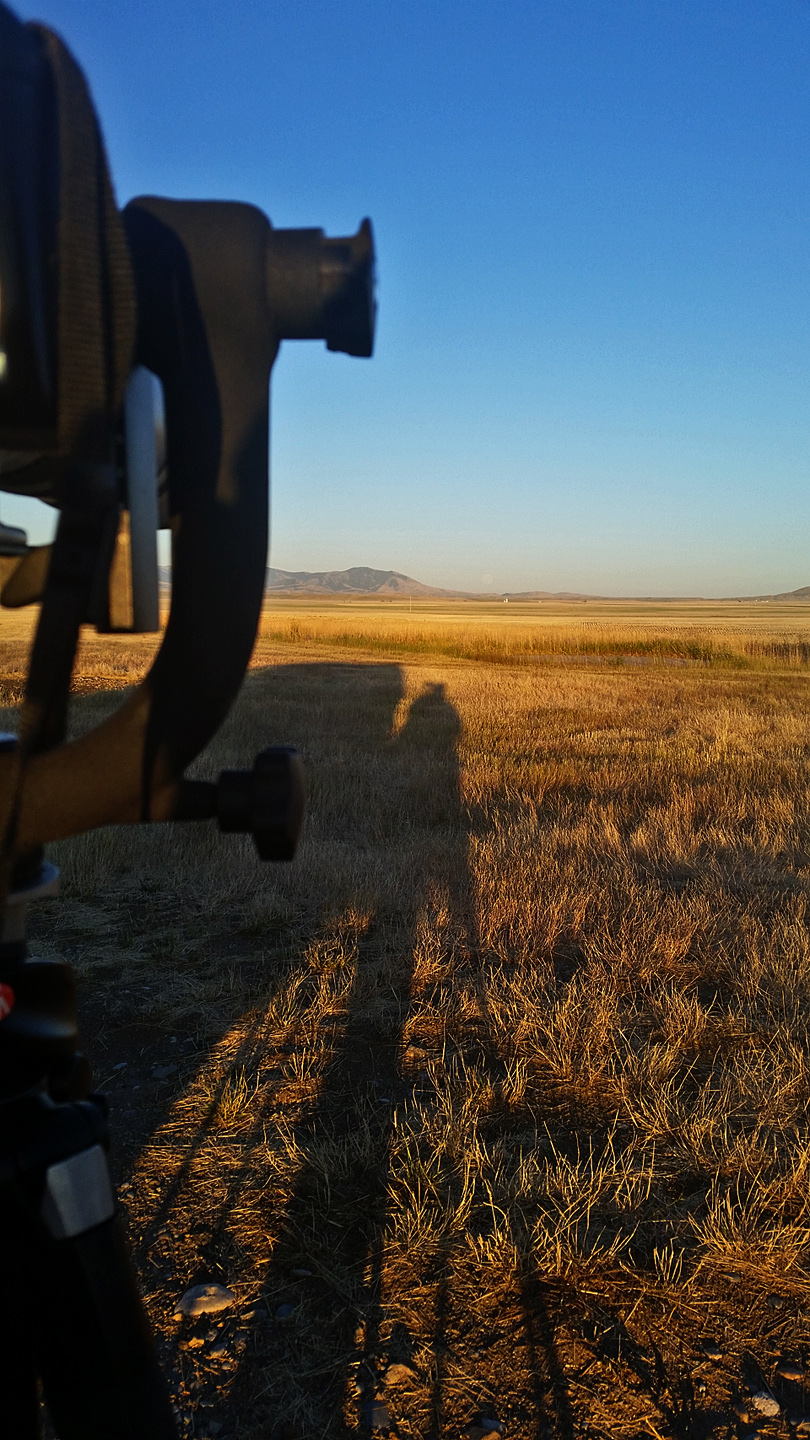
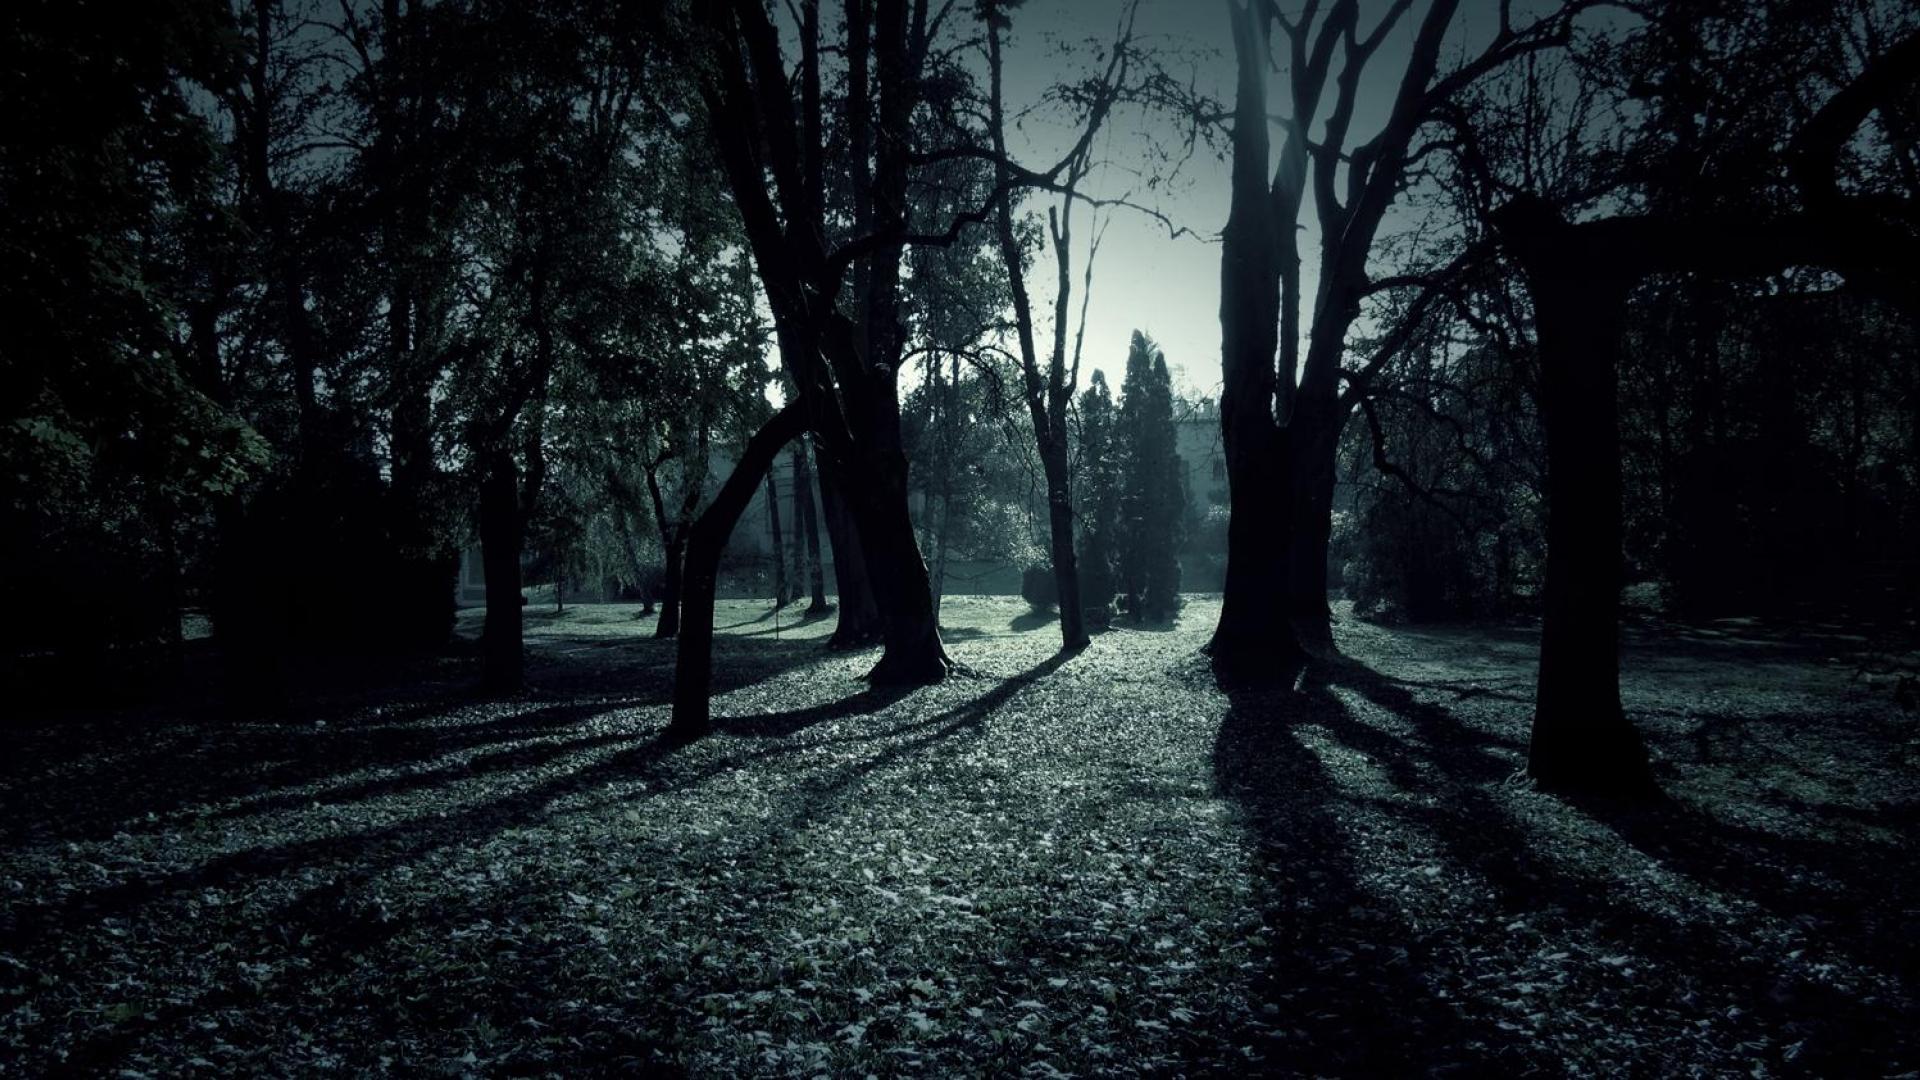
As you can see from this photo too, early and late in the day can be the best times for shadows. They are very long and prominent.

If you have more than one light source you will get multiple shados that can be interesting.
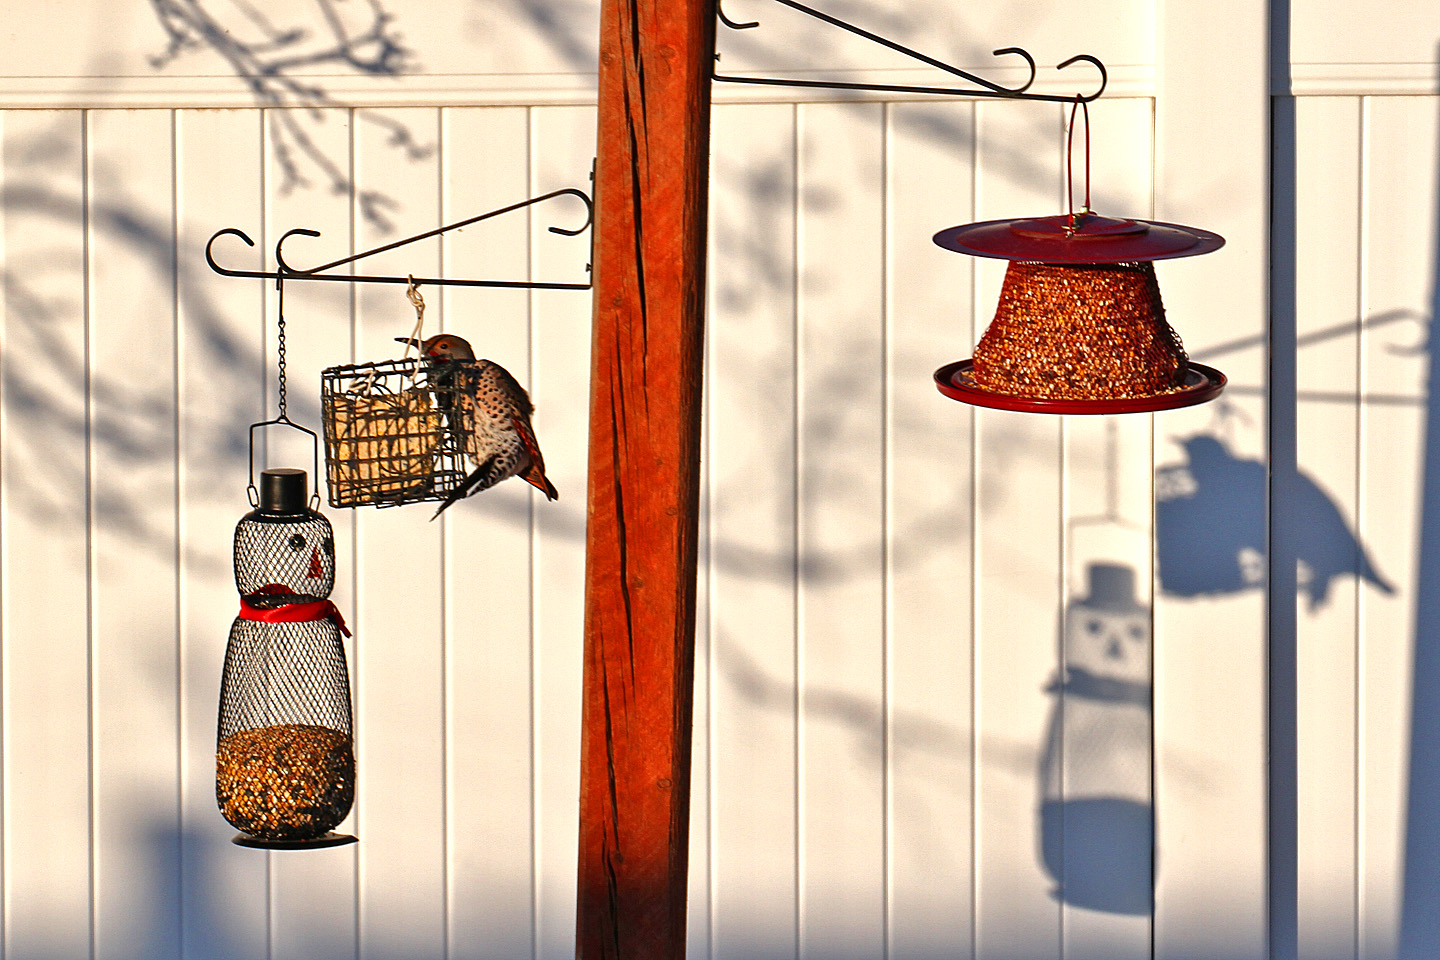
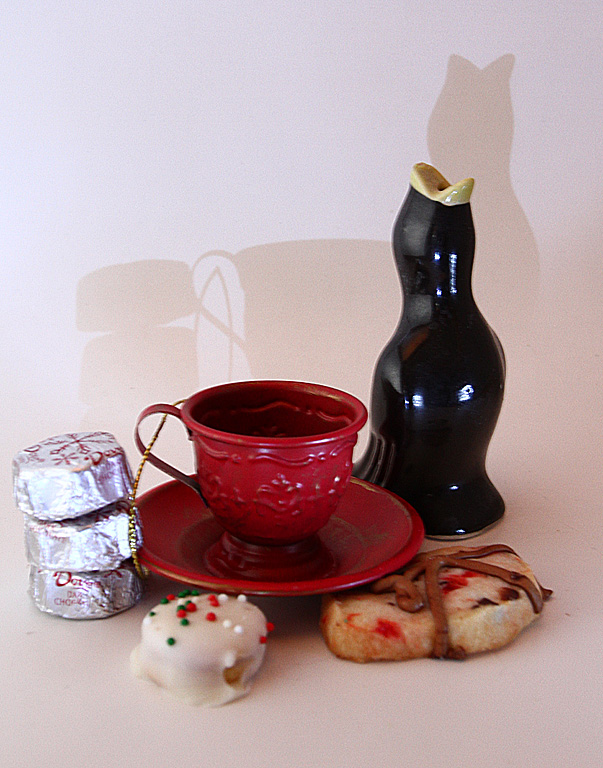
The shadows on a white surface can be theater if you watch them, always changing!
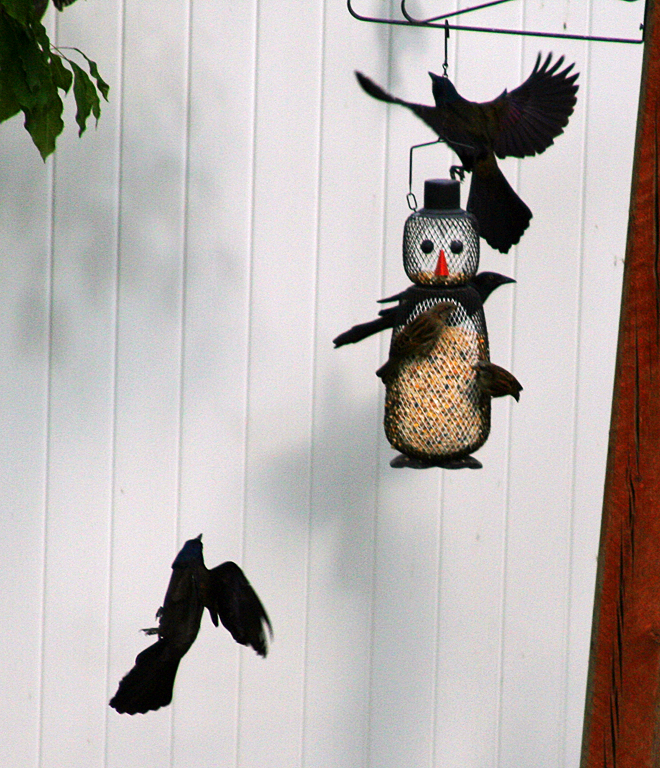
But be careful…these aren’t shadows but terribly under exposed birds…
If the shadow is a bit too light, you can, as mentioned before, select it and darken it, or you can sometimes darken the whole photo a bit with the levels control.

This can also enrich the colors some.
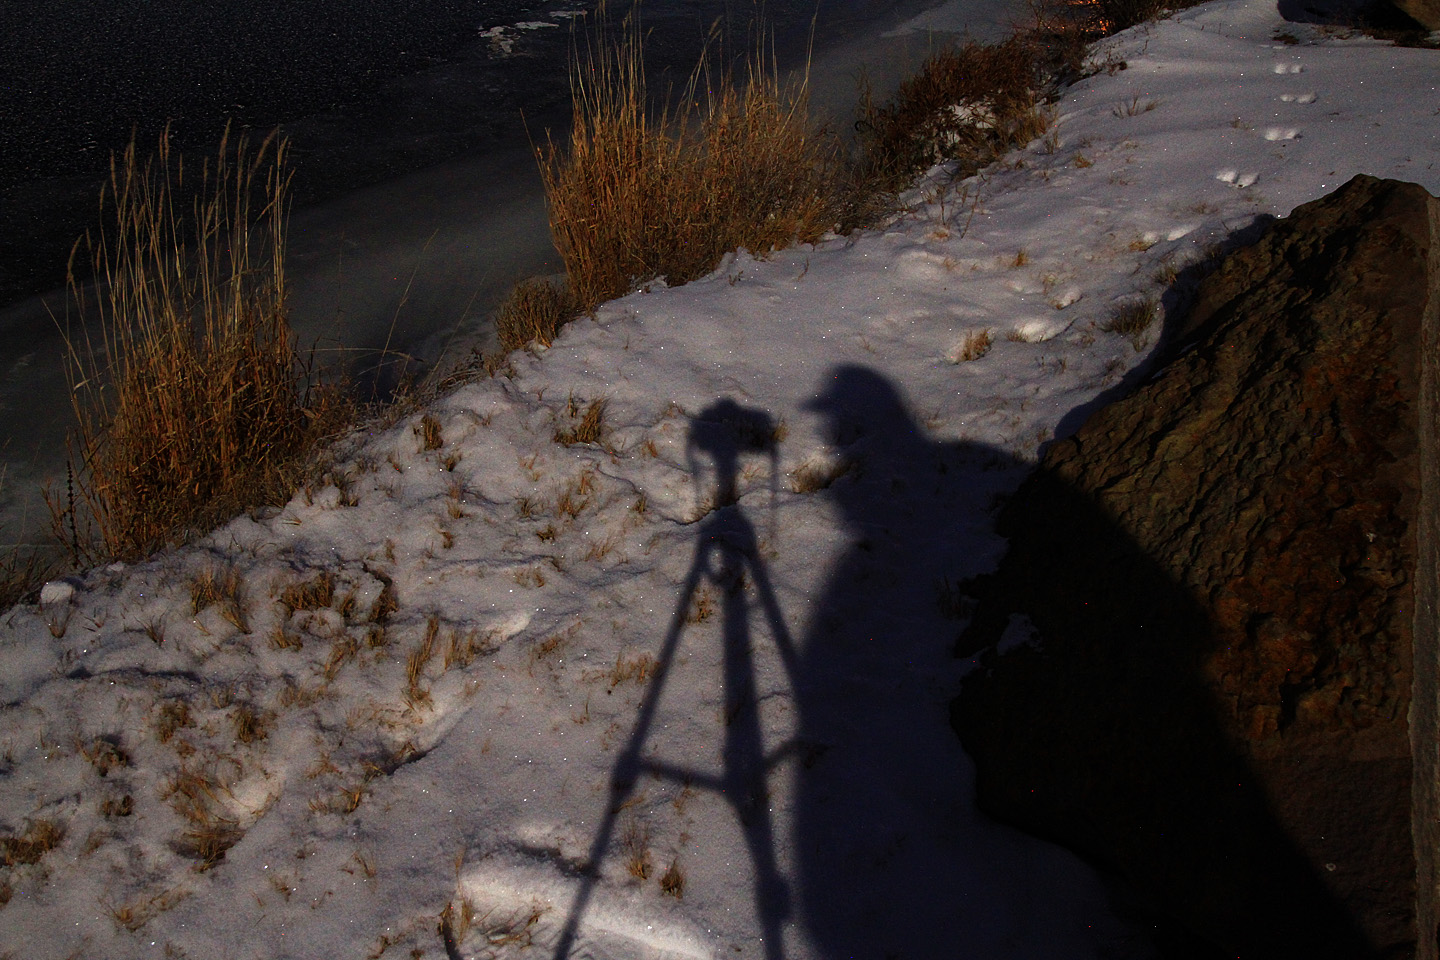
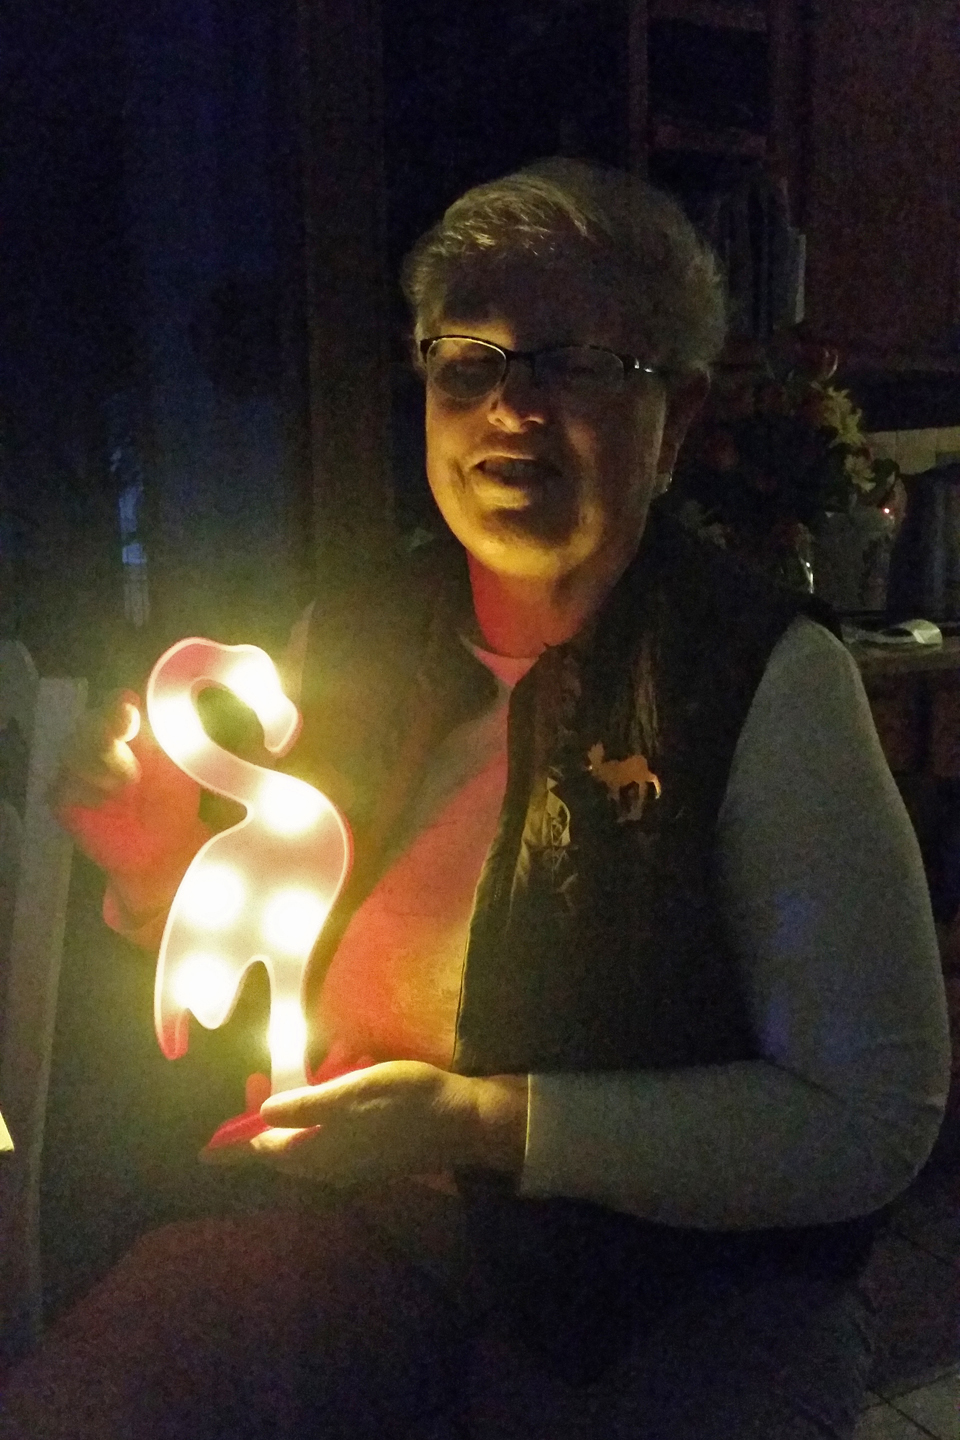
A selfie shadow by moonlight…a 30 second exposure.
Just because the subject is in the photo doesn’t mean we must accept it all…
Or..

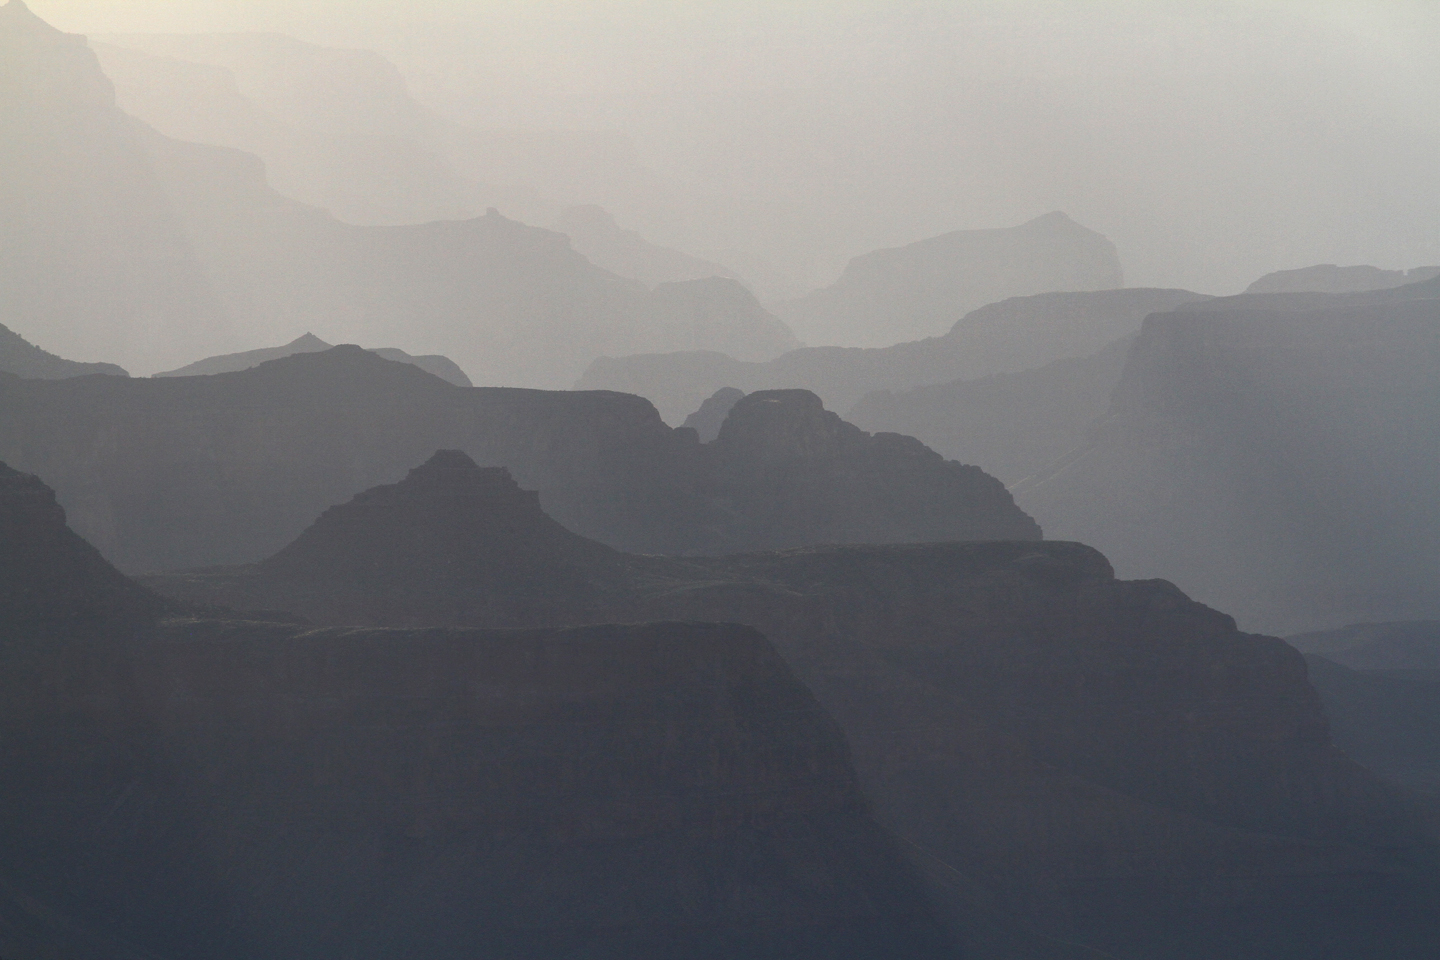
Then we have grand shadowscapes, like this these near sunset at the Grand Canyon.

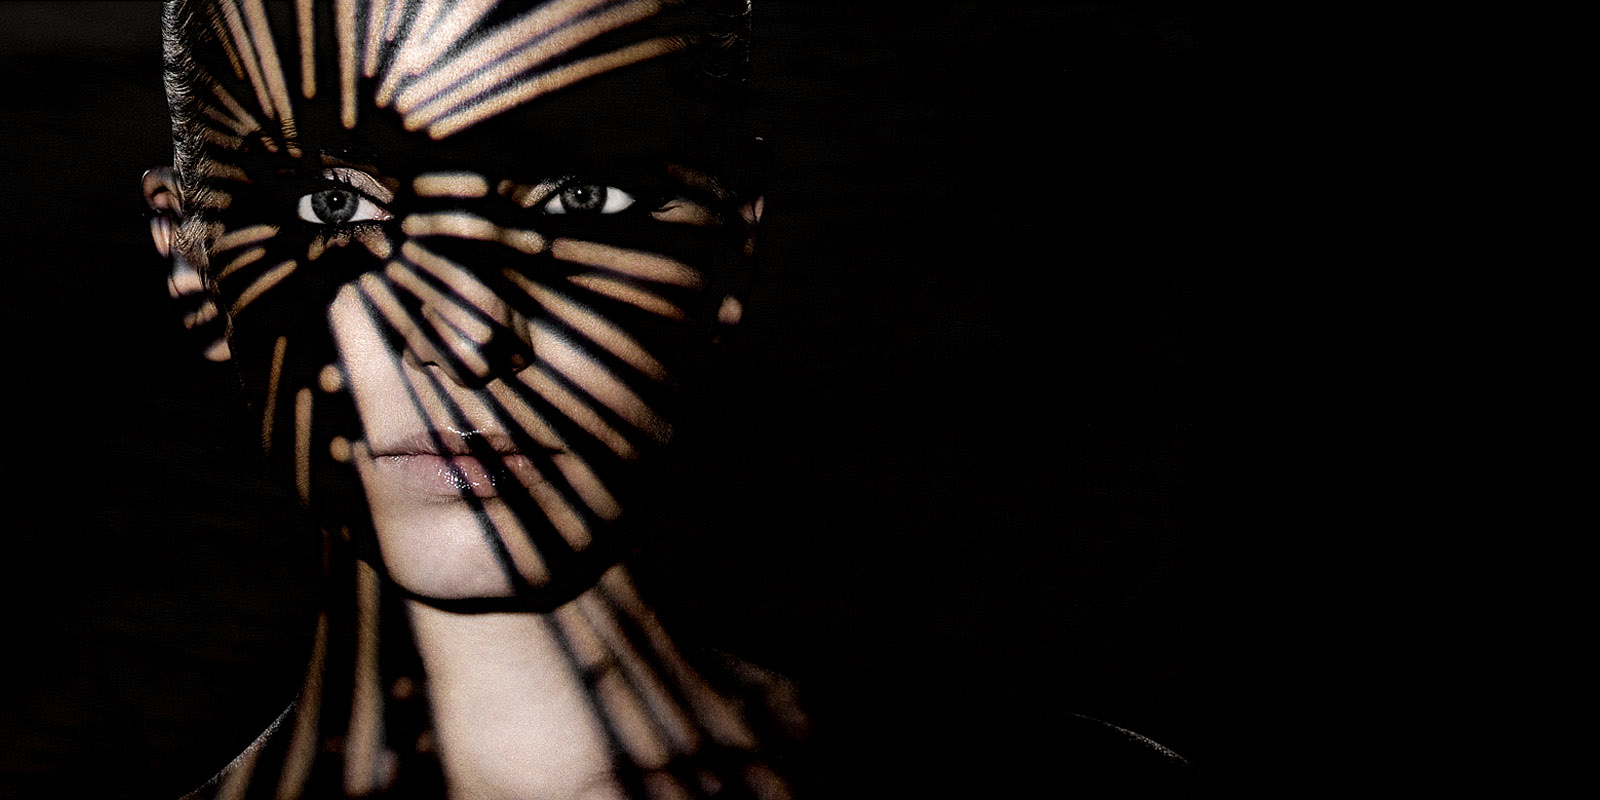
Another aspect of shadows is how they affect the look of surfaces, like faces.
And of course that can rapidly get into studio and portrait work
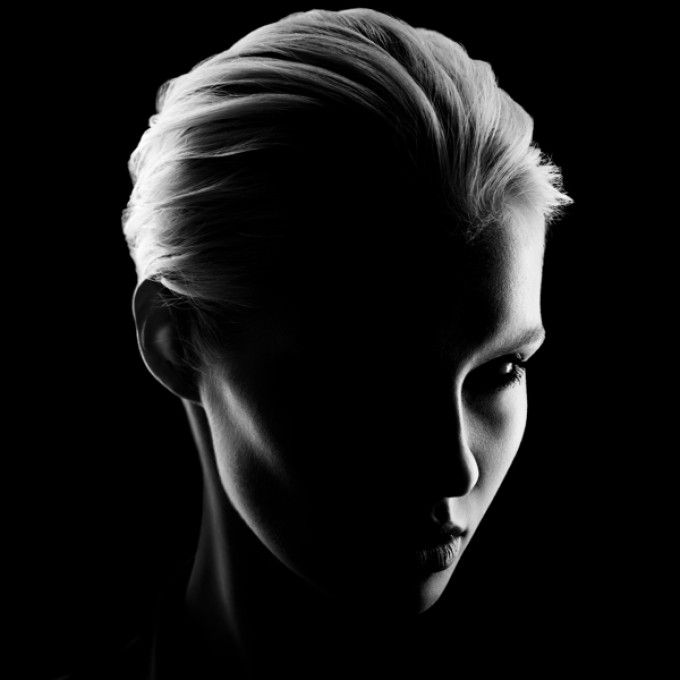
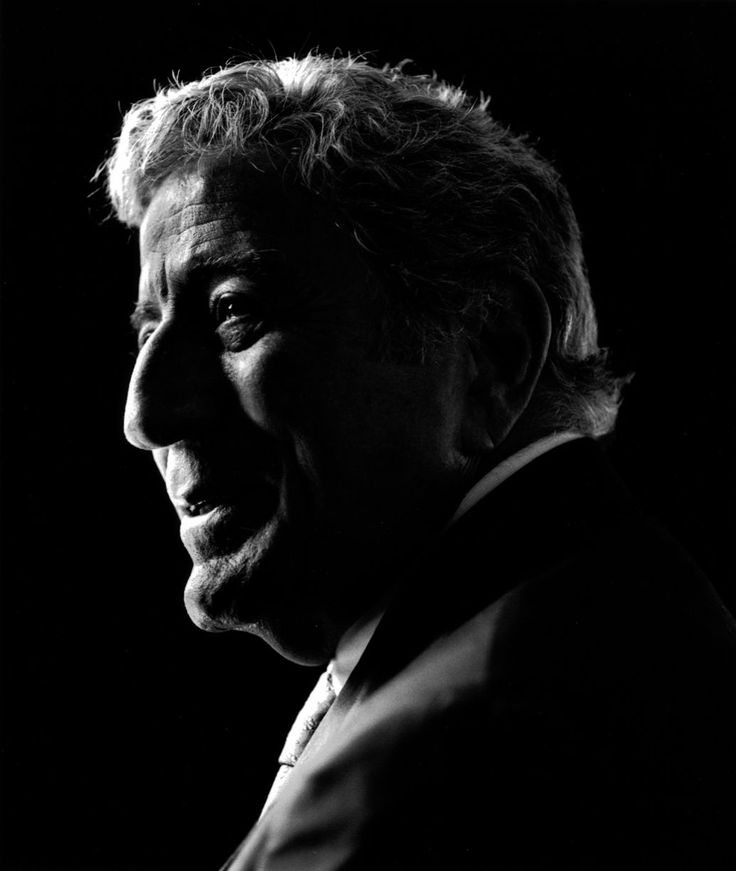
and that is beyond this class!
We use shadows to enhance and add texture to natural settings. Time of day and the weather can be very important to this.
And sometimes we just find a good set of shadows waiting for us.
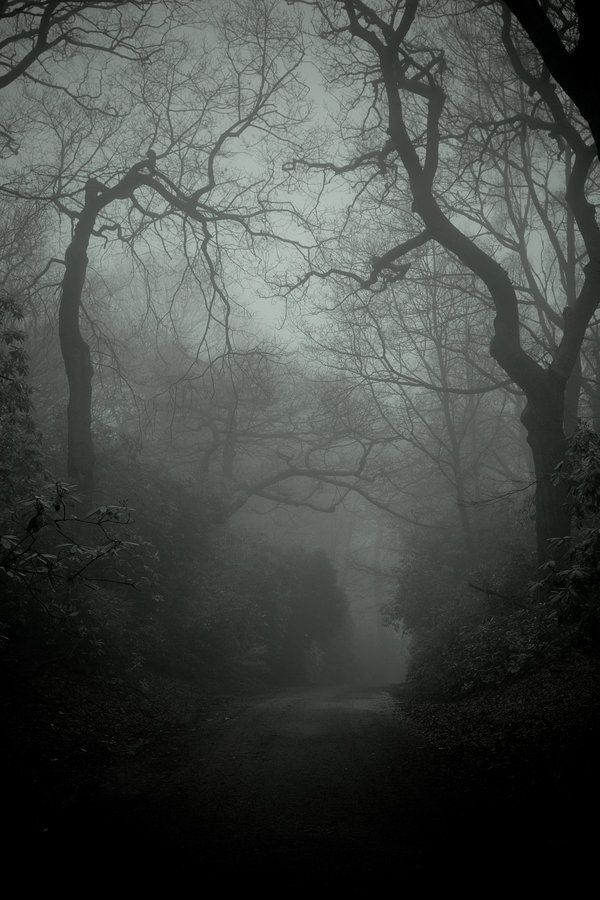
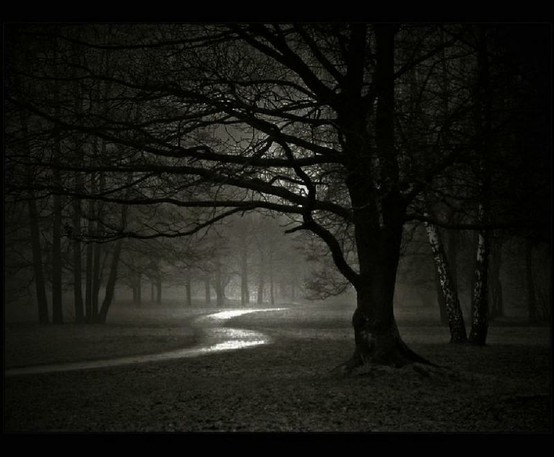
Of course, we can use shadows to set a mood, too.
Then you run into something like this.
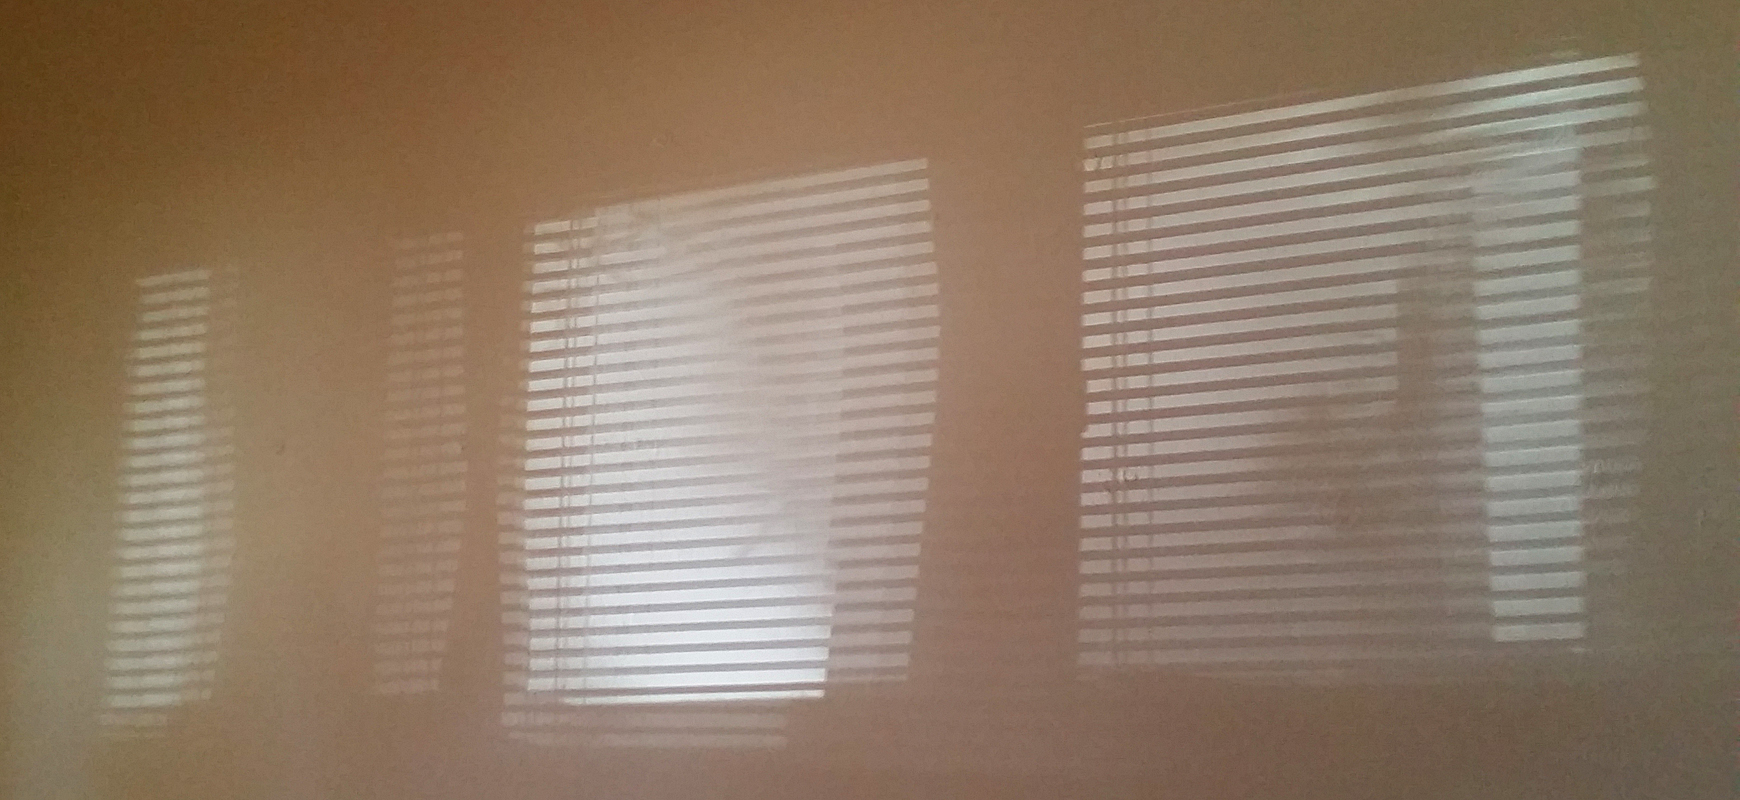
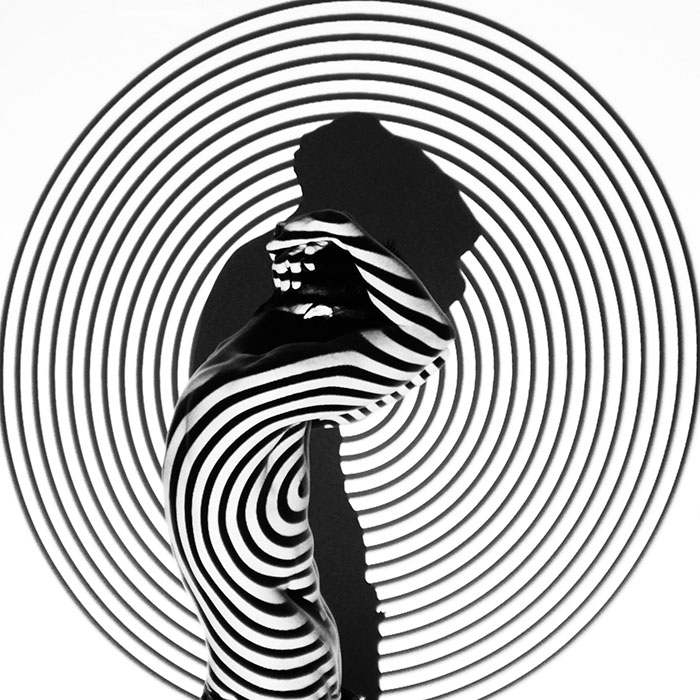
Which leads into using a scrim, or an old fence in this case.

And then you want to do something more exciting…

Or even:

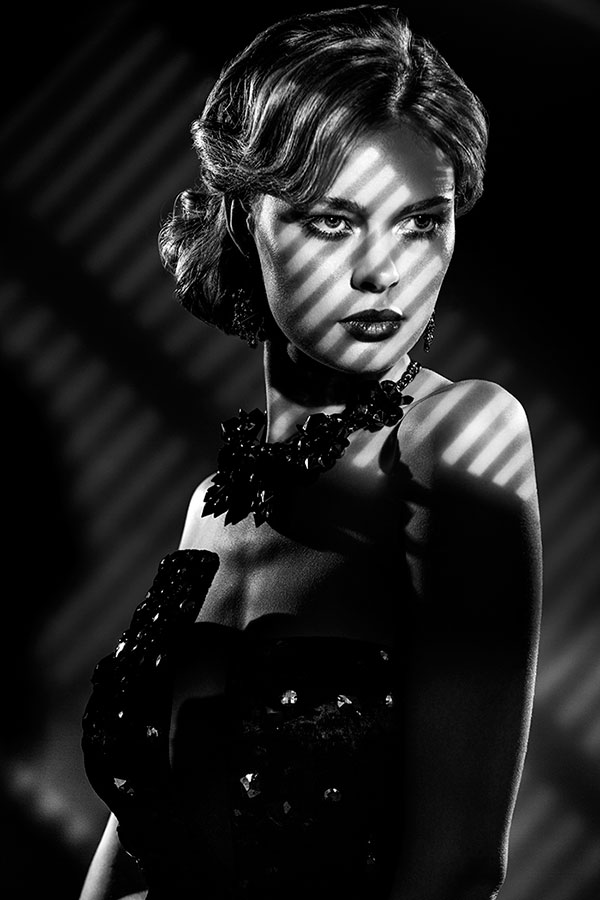
Some of this is part of a style know as film-noire, and was used heavily in old gangster movies and such from the 30’s and 40’s.
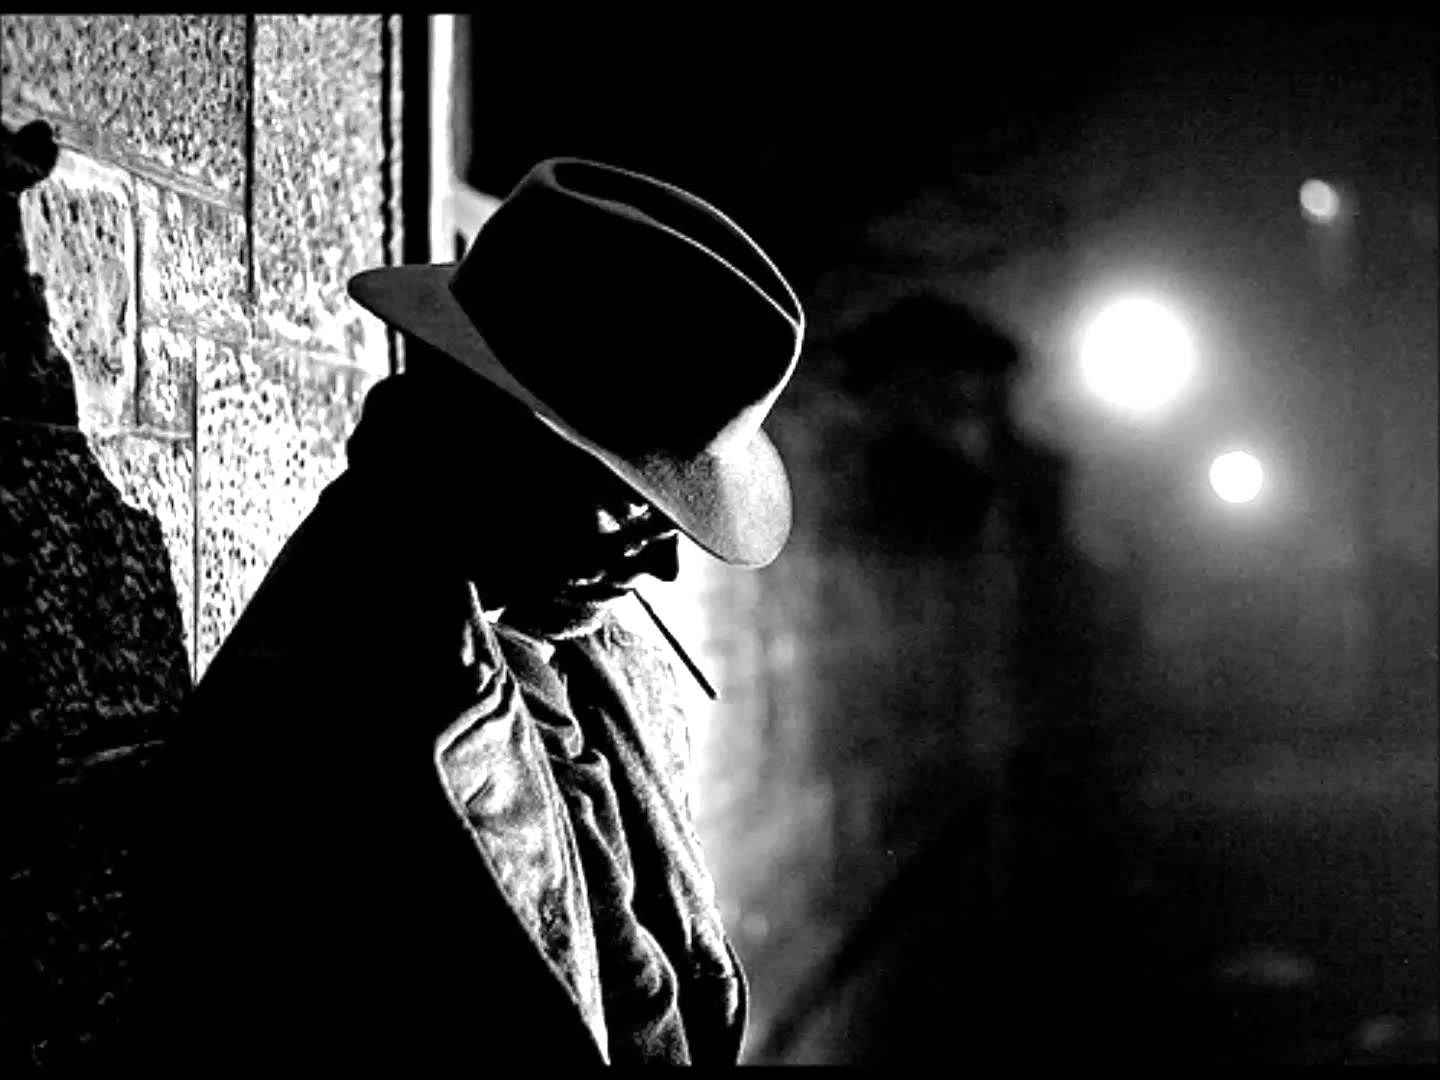
Always dark and brooding.

Almost always in black and white.
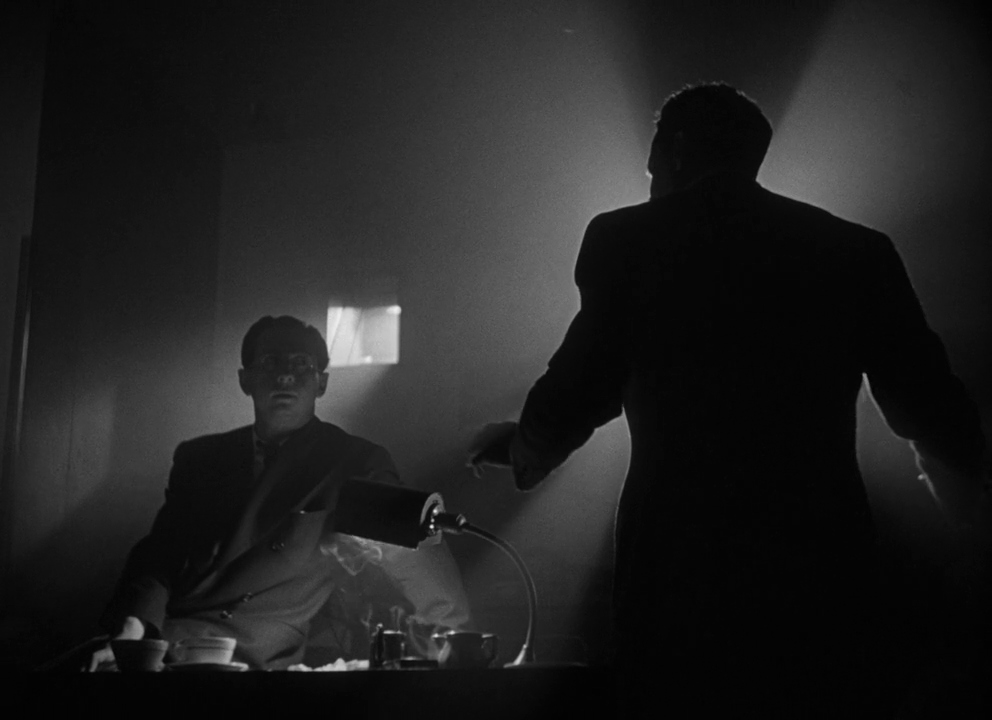
Lots of shadows and silhouettes.

While I won’t go into how to light all those film sets, how did they get this? It is actually very simple.
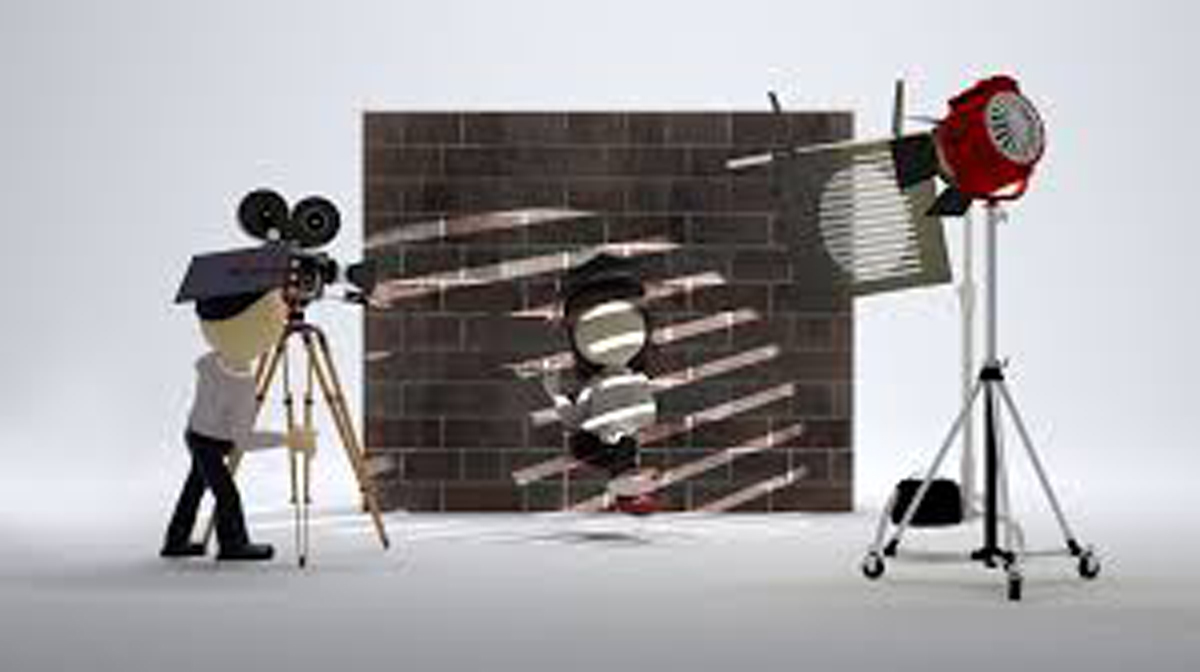
You place the subject against the backdrop, then set up a light with a “scrim†like this one to cast the desired shadow. I won’t get into “snoots†and “barn doors†here. A scrim can be almost anything, it doesn’t have to be blinds like this. These previous photos were made with scrims on a light source.
Anyway, that is most of the shadow section. Just remember to have fun and experiment.
Shadows and silhouettes are important in almost all kinds of photography. I have given Robyn copies of this presentation as .pdf files, one on shadows and one on silhouettes. Bring a thumb drive or ask her to email it to you if you’d like to review it again.
You can get more information by searching on “Shadow Photography†and “Silhouette Photography†in your favorite search engine such as Bing or Google, or on YouTube.
All images copyright the Curtis L. Barrow or are public domain or free for noncommercial use.